Showing posts with label corners. Show all posts

Wednesday, January 4, 2017

January Projects with Belinda

Happy new year!

Belinda here today to share my very first post for 2017. I am so excited to be able to share another year of creations using fabulous Imaginarium Designs chipboard with you. I hope you will find some inspiration.

Today, I have three layouts as well as some cute and quirky Christmas cards that I didn't get to share last year.

Adore Layout 1


I tried to make this layout as cute as the photo of my little man. I have gone with a bit of a circular theme with this one and used some paper from the adorable Crate Paper Little You Collection.


I cut a mixture of the coordinating patterned papers to fit the piechart and glued them to the back.


I have stuck to a bit of an aqua and white colour scheme with this layout so I have painted all of the chipboard pieces with a couple of coats of heavy white gesso.


Products used:

IDD0036 Nat's Piecharts

IDD0046 Loolabelle's Callouts

IDS0079 Two Starbursts in a board

IDW0026 Love Cherish & Adore


Adore Layout 2


I seem to be going through a bit of a phase with the whole aqua and white thing because here is another layout using that very same colour scheme!


This layout features lots of lovely layers with little bits and pieces tucked in and around the small photo to frame it. 


I have used a couple of Swirl Corners in their natural raw state as a contrast to all of the colour on my layout.


I painted the butterfly with heavy white gesso and just before it was completely dry, I pressed a piece of scrap printer paper onto it. As I peeled the printer paper away, it took some of the gesso with it leaving a lovely shabby chic look to the butterfly.

Products used:

IDS0002 Butterfly large

IDC0004 Swirl Corner 4 per sheet

IDW0080 Totally Adore Wonderful


Travel Layout


I have gone for a bit of a rustic, vintage look for this layout to suit the photo of the old hay truck belonging to my hubby.

I started with a base of a lovely Australiana patterned paper and a super small photo of the hay truck. I painted a chipboard tag with white gesso and then taped it in position on the patterned paper making sure I could still slide embellishments in around the sides. I also added some twine and natural ribbon to the top of the tag.
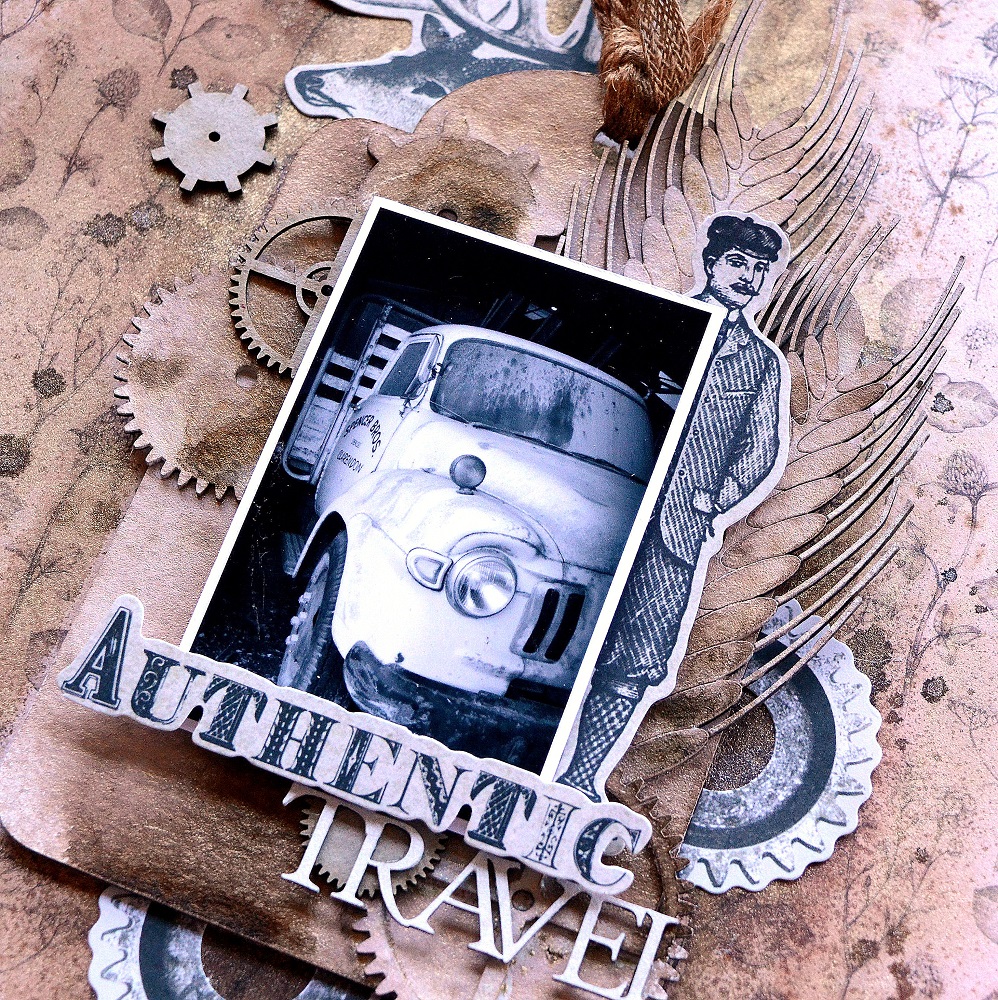

I glued some cogs and ears of barley onto the tag and then sprayed the lot with Lindy's Stamp Gang Opal Sea Oats Starburst Spray as well as Kaisercraft Coffee Kaisermist. Once dry, I flicked a bit of the colour over it too.


I added a few raw cogs too and also the word 'Travel' which I painted with white gesso.


Products used:

IDDN0024 4 Ears of Barley in a board


IDS0018 9 Cogs on Board


IDT0021 Cogs Board Small

IDT0017 Compass with Travel Words in board


Ho Ho No! Christmas Cards


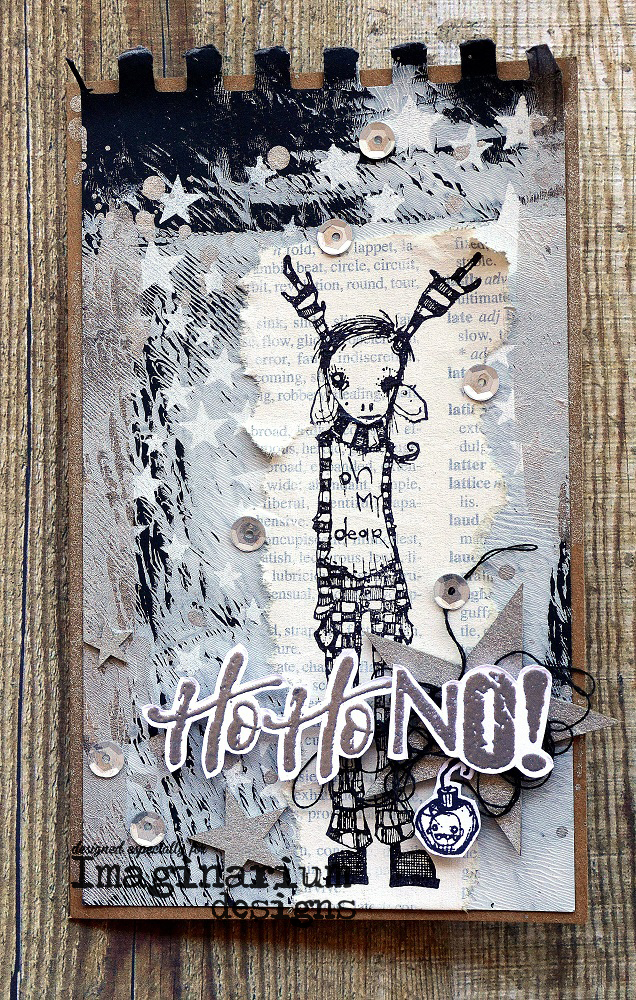
I wanted to create some cute Christmas cards with a twist for some special friends. I have stuck to a simple black, white and silver colour scheme and of course my favourite chipboard stars were the perfect addition.


I have used just three stars of various sizes on each card and painted them silver using Time Holtz Brushed Pewter Distress Stain.

Products used:

IDS0076 21 Stars in a board


Well that is all from me for now. I hope you have been inspired by my projects. Make sure you come back tomorrow to see what lovely creations Miriam has for you.

Cheers
Belinda


Monday, February 8, 2016

Follow Your Dreams Layout

Hello everyone! Julianne here today, sharing a layout that is a little different from my usual. 

Sometimes, life gets in the way, and we forget about us, and what we need, and occasionally want. So, I created this layout as a reminder - a reminder to follow MY dreams, a reminder to stop and smell the roses, a reminder to not ever give up, or forget that I am important too. 


FOLLOW YOUR DREAMS

I have created this layout on a 12 x 12 piece of chipboard. I started by covering the chipboard with two coats of white gesso, and allowing it to dry. I then found a mask that I liked, laid it over the chipboard, and filled in the centre strip spaces with texture paste. I then allowed it to dry thoroughly. 


Next, I added Glimmermist (Red-Nosed Reindeer), creating the dribbled effect with a syringe dropper. This gives me maximum control on where my Glimmermist is placed. But be careful, you do not want too much on your page, as it can spread in the wrong directions. The key is to work slowly. 


Next, I chose a dark, smoky coloured glimmermist (Raven), and splattered it over the page, in random places. I created these splatters by holding the spray stem from inside the bottle, over my page, and tapping it lightly with my finger, in the places that I wanted splatter. 


Next, I coated the compass, needle and corners with Inka Gold (Platinum). I then took the compass and needle, and coated it with Glimmer Glaze (Pewter), dabbing off the excess before it was completely dry, to help create an aged and weathered look. I then glued the corners to the page, and added the compass and needle towards the top of the page, slightly off-centre.  


Next, I added Dimensional Magic in random spots on the masked area, and also along the outer egdes of the corners, I then sprinkled micro beads all over these areas. Allow to dry thoroughly before proceeding. The micro beads create such an amazing texture. 


I then completed my layout with flowers, vines, wooden embellishment pieces, touches of kindy glitz, and Liquid Pearls around the outer edge of the compass. I finished with my title, and a little personal journaling, to remind me of what is important.  

IMAGINARIUM DESIGNS PRODUCTS:


Thank-you for stooping by and joining me today. I hope you have enjoyed your time here with us. 
Don't forget to leave a comment and a little love, and you will automatically be entered into the draw to win an Imaginarium Designs prize pack. 

If you would like to view more of my work, please visit my blog: 


Cheers and happy crafting, xxx

JULES


Wednesday, June 17, 2015

Precious Moments in Time and two cards by Agnieszka Bellaidea


Hi!
Agnieszka Bellaidea today with 3 projects.
My first one, a canvas was created couple months ago for a special Mixed Media class at Scrap Fest.
Girls loved all chipboards by Imaginarium Designs !


While painting all my chipboards I used gesso, mists by 13arts and ...nail polish :). This one just just perfect for my dress.


For chipboards from my two cards below I used a mix of mists in silver , pastel lavender and pastel berry with  MAGIC! multipurpose powder by 13arts.  I love the results!


Corner with four circles 


Thank you so much for looking, as always remember you have a chance to win many chipboards just by leaving comments under our posts :)
Have a wonderful day and see you next month...unless you will visit my blog before July 17th :)