Showing posts with label Cogs. Show all posts

Tuesday, June 13, 2017

Masculine Cards with Alison Bevis

Hello!!
...and Welcome,
It's Alison here today and I just have a few projects to share with you,
I did have a couple more planned... alas our recent relocation and family 'stuff' mean my 24 hours each day had significantly reduced 'spare' time!!
I like to give myself a little theme and chose Masculine,
so I've created a couple of quick and easy cards for the Men in our life.

Masculine Cards

No automatic alt text available.

The cards are all made with the mini paper pack from Feature Arts Paper and is a great range about Cruising.
I simply cut some squares of patterned paper and layered it with some cork sheet, a canvas star and a couple of pieces of inked chipboard.

No automatic alt text available.

Another quick and simple design - a couple of squares of patterned paper, inked and adhered to the centre of a card base. Trim a striped piece into a banner, and a cluster of embellishments - chipboard cogs have been inked and then coated with Glossy Accents or similar to finish.

No automatic alt text available.

Chipboard pieces are such a great way to add a bit of jazz to a simple card. The negative or rubbish from a cog set is inked and then used as a cute frame on a focal point.

Image may contain: 1 person

A couple of squares of patterned paper, cork sheet, clear stickers and a few pieces of a great mixed cog design roughly inked to add a bit of a weathered look. A couple of extra pieces of metal to finish.

No automatic alt text available.

It isn't always easy to create cards for the men but maybe try some simple designs for you next cards?

Alison xx


Wednesday, January 4, 2017

January Projects with Belinda

Happy new year!

Belinda here today to share my very first post for 2017. I am so excited to be able to share another year of creations using fabulous Imaginarium Designs chipboard with you. I hope you will find some inspiration.

Today, I have three layouts as well as some cute and quirky Christmas cards that I didn't get to share last year.

Adore Layout 1


I tried to make this layout as cute as the photo of my little man. I have gone with a bit of a circular theme with this one and used some paper from the adorable Crate Paper Little You Collection.


I cut a mixture of the coordinating patterned papers to fit the piechart and glued them to the back.


I have stuck to a bit of an aqua and white colour scheme with this layout so I have painted all of the chipboard pieces with a couple of coats of heavy white gesso.


Products used:

IDD0036 Nat's Piecharts

IDD0046 Loolabelle's Callouts

IDS0079 Two Starbursts in a board

IDW0026 Love Cherish & Adore


Adore Layout 2


I seem to be going through a bit of a phase with the whole aqua and white thing because here is another layout using that very same colour scheme!


This layout features lots of lovely layers with little bits and pieces tucked in and around the small photo to frame it. 


I have used a couple of Swirl Corners in their natural raw state as a contrast to all of the colour on my layout.


I painted the butterfly with heavy white gesso and just before it was completely dry, I pressed a piece of scrap printer paper onto it. As I peeled the printer paper away, it took some of the gesso with it leaving a lovely shabby chic look to the butterfly.

Products used:

IDS0002 Butterfly large

IDC0004 Swirl Corner 4 per sheet

IDW0080 Totally Adore Wonderful


Travel Layout


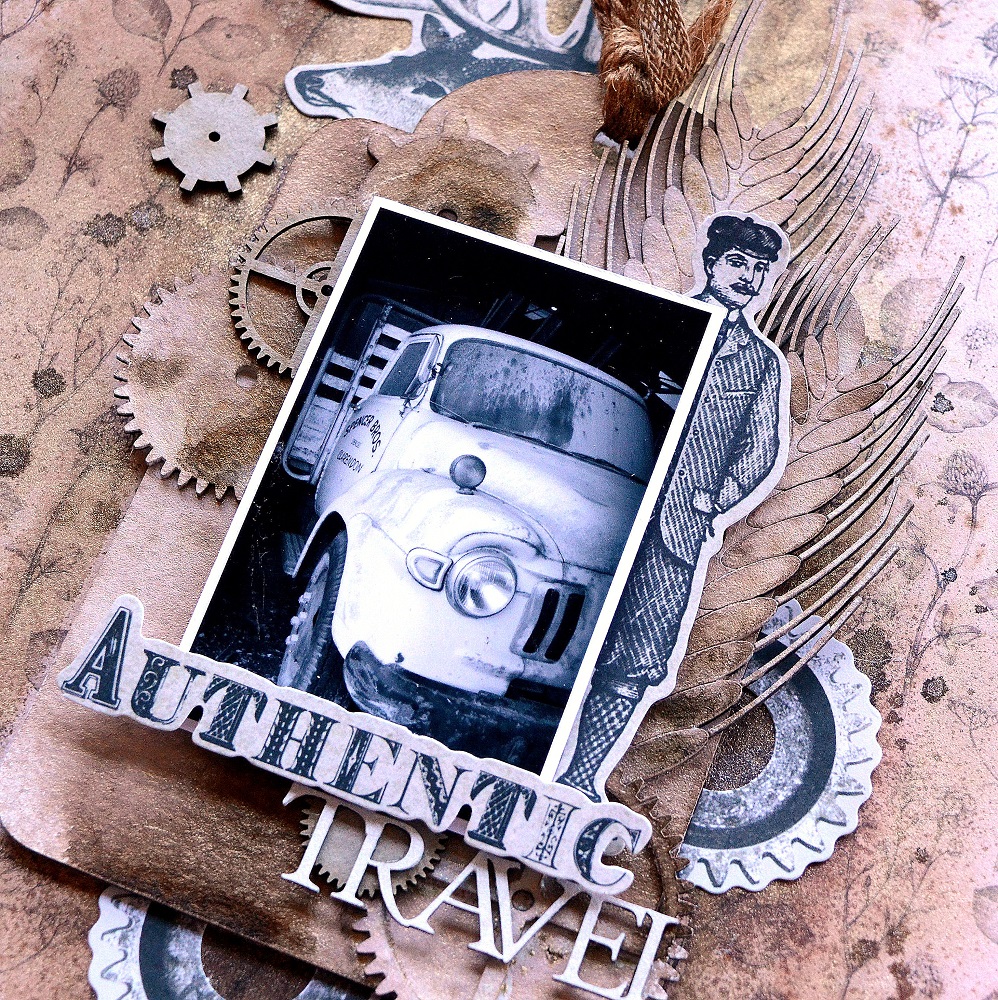
I have gone for a bit of a rustic, vintage look for this layout to suit the photo of the old hay truck belonging to my hubby.

I started with a base of a lovely Australiana patterned paper and a super small photo of the hay truck. I painted a chipboard tag with white gesso and then taped it in position on the patterned paper making sure I could still slide embellishments in around the sides. I also added some twine and natural ribbon to the top of the tag.


I glued some cogs and ears of barley onto the tag and then sprayed the lot with Lindy's Stamp Gang Opal Sea Oats Starburst Spray as well as Kaisercraft Coffee Kaisermist. Once dry, I flicked a bit of the colour over it too.


I added a few raw cogs too and also the word 'Travel' which I painted with white gesso.


Products used:

IDDN0024 4 Ears of Barley in a board


IDS0018 9 Cogs on Board


IDT0021 Cogs Board Small

IDT0017 Compass with Travel Words in board


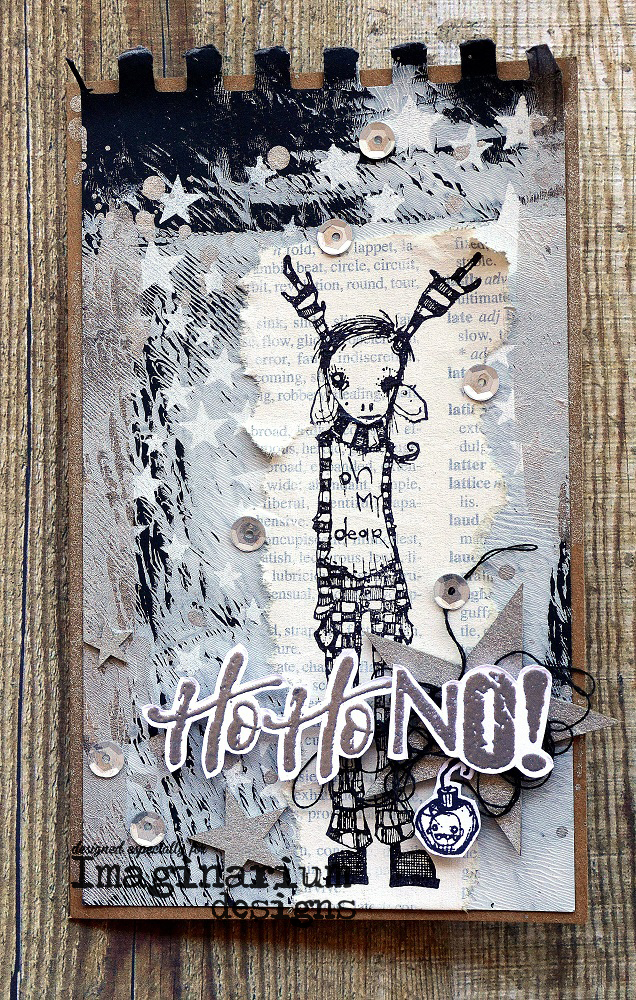
Ho Ho No! Christmas Cards


I wanted to create some cute Christmas cards with a twist for some special friends. I have stuck to a simple black, white and silver colour scheme and of course my favourite chipboard stars were the perfect addition.


I have used just three stars of various sizes on each card and painted them silver using Time Holtz Brushed Pewter Distress Stain.

Products used:

IDS0076 21 Stars in a board


Well that is all from me for now. I hope you have been inspired by my projects. Make sure you come back tomorrow to see what lovely creations Miriam has for you.

Cheers
Belinda


Friday, October 10, 2014

October Inspiration and an Idea For Chipboard Storage

Hello, Leonie here today with two pages choc full of lovely Chipboard and
a little idea from me on chipboard storage to share with our readers.

Something bright and colourful first up.


I used paint to colour the chipboard pieces on this first page.
On the butterflies I added some glitter glue for a little sparkle. :)


It's Your Smile 
IDP 0093


8 Butterflies on A Board 
IDS 0003

Denise's Art Deco Corner
IDDD 0011

Denise's Art Deco Corner
IDDD 0005


My second page today features the Cogs On a Board Chipboard as 
well as a few other pieces.


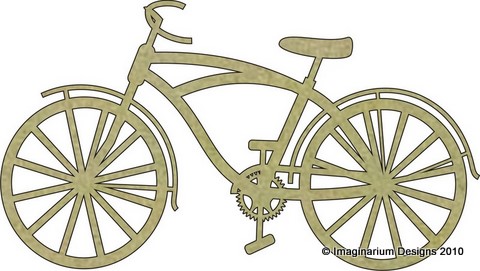
Some of the cogs and the bicycle were simply inked black and the rest of the 
cogs I spray painted with a Gold Foil Metallic spray by Krylon.
It gave a lovely metal finish and it's hard to tell the difference 
between some of the chipboard cogs and 
some metal embellishments I used.


Here are a couple of the tiny script words from Imaginarium Designs
which fitted perfectly with this pages' theme.


IDW0077
  
IDW0080
 

9 cogs on a board 
IDS 0018                          

Loolabelle's Chevrons #1
IDDL0020

Bicycle 
IDS0011

*******
If you've been following the blog closely this week you will have noticed
that some of us Design Team girls have been sharing some peaks into our creative spaces

Check out Amy's post HERE and Belinda's HERE
Read on for some pictures of my Scrap room.

*****

First up is how I like to store my chipboard phrases and any small loose pieces.
I use a 12x12" piece of cardboard packaging and a tape runner to adhere the chipboard.
It then goes in a plastic snap lock back.

I find this a great way to easily see my chipboard at a glance.  
It also keeps them from getting broken and the tape
runner isn't permanent so when I choose a piece to use I can easily lift it off 
without damaging the chipboard.


 I have a lovely long desk in our study that my Dad built for me that I absolutely love.
  I bought it as an off cut from a kitchen cabinetry store.  It's been in for a few years now and although the black colour shows up any
marks like splashes of gesso or paint,
 they wipe off easily and it's been very hard wearing to date.


On the opposite wall is an Ikea cube unit and filing cabinet.


And just so you don't think I'm super organised and tidy,
 more often than not this is how my space really looks!!


 Plenty of mess spread everywhere and my 5 metre long bench space 
is reduced to the size of the 12x12" page I'm currently working on!
Does this happen to anyone else??


Happy creating to you all.

 Don't forget to leave a comment to go into the draw to win a pack of chipboard!