
Hello, Leonie Neal-Dawson here today with my very first post as part of the
2014 Design Team here at Imaginarium Designs!
I'm so honoured to be given this opportunity to work with these chipboard designs and to
hopefully inspire you to get creative with the wonderful range that Imaginarium Designs chipboard has to offer. I have two page layouts to share with you today.
2014 Design Team here at Imaginarium Designs!
I'm so honoured to be given this opportunity to work with these chipboard designs and to
hopefully inspire you to get creative with the wonderful range that Imaginarium Designs chipboard has to offer. I have two page layouts to share with you today.
This first page captures my four children on their way back from a swim at our local beach.
As the title suggests a special 'Moment In Time' as they are happily chatting and joking with none of the usual bickering!

I used this pretty scalloped shaped banner across the top of my photo. This banner comes in a set of three different shaped banners (there's also a pennant and a flag shape). All very cute and the perfect size for a 4x6" photographs.
The banner was first painted with Gesso and then before the gesso dried
completely I sprinkled some chunky white embossing enamel (by
Stampendous) over the banner and heat set it.
I stopped heating the enamel almost as soon as it melted but
before it spread out over the whole surface of the banner.
This was the result, a white bubbled, textural banner!
The banner was first painted with Gesso and then before the gesso dried
completely I sprinkled some chunky white embossing enamel (by
Stampendous) over the banner and heat set it.
I stopped heating the enamel almost as soon as it melted but
before it spread out over the whole surface of the banner.
This was the result, a white bubbled, textural banner!

Generally when I'm using more than one piece of Chipboard I like to use the
same technique on some of them so that it ties different elements on the page together.
So for the title, I used the same procedure with the embossing enamel.
The phrase piece I used here actually comes as 'Beautiful Moments In Time'.
However I cut the word beautiful off to suit my page.

Here's a closer image of the title.

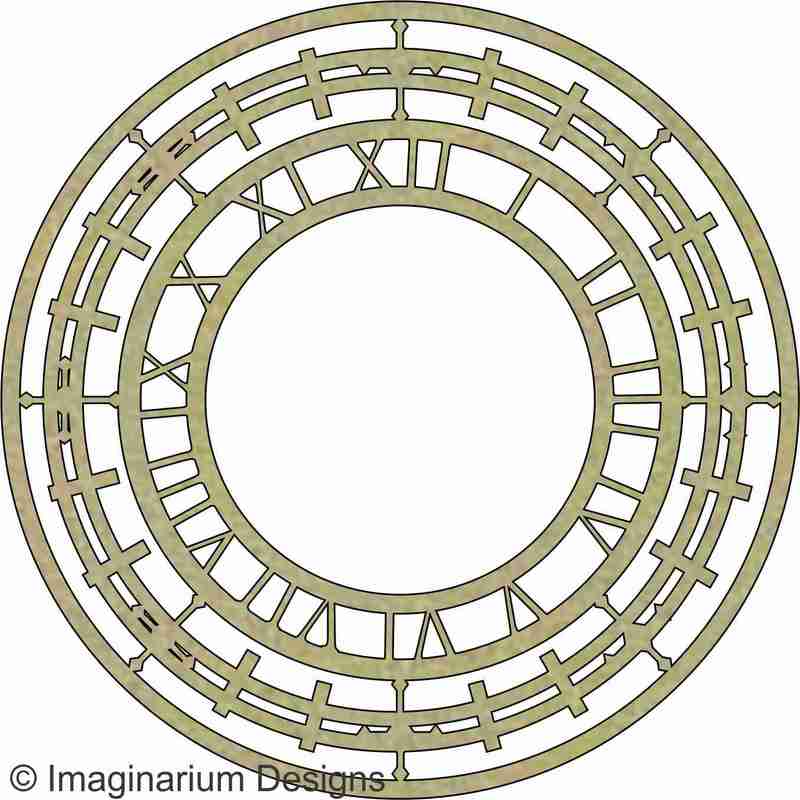
The third piece of Chipboard I used was a 'Clock and Compass' piece (pictured further down).
As you can see it comes as one piece but I cut the outer compass parts off so that I had three separate
circular shapes - A great way to extend your chipboard a little farther.
I stuck the circles to my base page with Gel Medium and then painted them and the
card stock with Gesso, before then spraying and splattering the page
with Hero Arts Neon Sprays.


Clock and Compass IDS006
******************
On to my second share for today, which as it's February I thought it would be fitting to use a
back to school photo. Children all head back to school late January-early February here in Australia after our long summer break. Unfortunately as you can see by the date my photograph is from 2013! Yes, I'm a little behind on scrapping some pictures!!!

As I mentioned above I like to treat different chipboard pieces with the same technique
to tie everything together and I've done this again here with all three pieces of chipboard.
First I painted the chipboard with
a similar colour to the glitter I was going to use so that if there were any small gaps the
turquoise colour would show through and be less noticeable.

After painting the chipboard I coated it in glue; sprinkled
glitter over it and set it aside to dry. Nice and easy and very sparkly!

I love these chipboard numerals, they're a great size at about 1.5cm in height.
Perfect to add a date to your page.

The third piece of chipboard are these skeletal leaves which come in a set
of seven different sized leaves.

Thanks so much for stopping by to view my pages. I hope
you've enjoyed my first post at Imaginarium Designs.
Please leave a comment to go into the draw to win a pack of chipboard!


