
Hi Everyone!
Welcome back for more inspiring projects with our favourite
Imaginarium Designs chipboard.
Imaginarium Designs chipboard.
Amanda here, and today I have a couple of layouts, as well as a tutorial to share with you -
so let's get straight into it!
so let's get straight into it!
First up, I am sharing this stunning layout featuring me and the gorgeous Louise Nelson....
"Awesome"

How cool is this? An arty explosion of pop colour, style and fun! I love it!
I've really tried to reflect a balance between both our different styles and personalities with this layout.
Bold and black, wire, arty and stylised - that's all Lou!
Bright pops of colour, fun, hearts and sticker love - that's definitely me!
And as for Marble is the new black, well I think you'll find that Louise and I both have a thing for gorgeous materials and marble is one of them!!!
Two arty friends having fun and sharing our passion for creating.
And the chipboard?
Well, naturally it's designed by the talented Loolabelle herself!
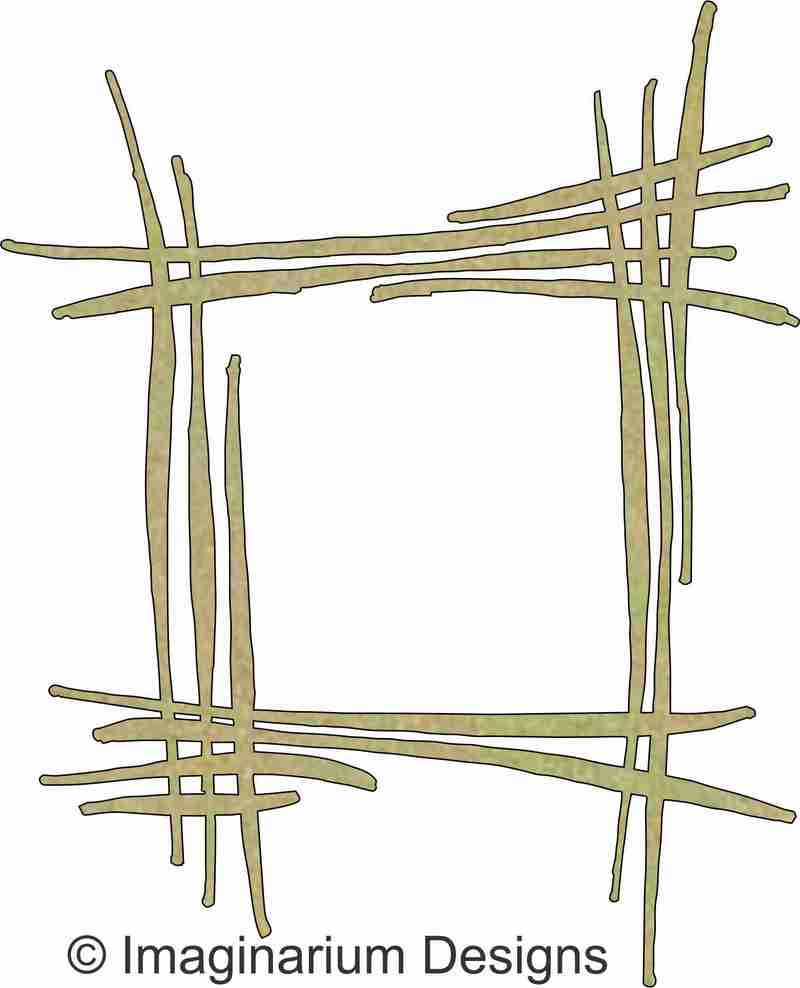
Let's take a closer look.....

How striking are those frames?!!
Black ink for Lou, and pink for me, lol!
Layering chipboard in bold colours creates a stunning result everytime! Love it!
Here's another view...

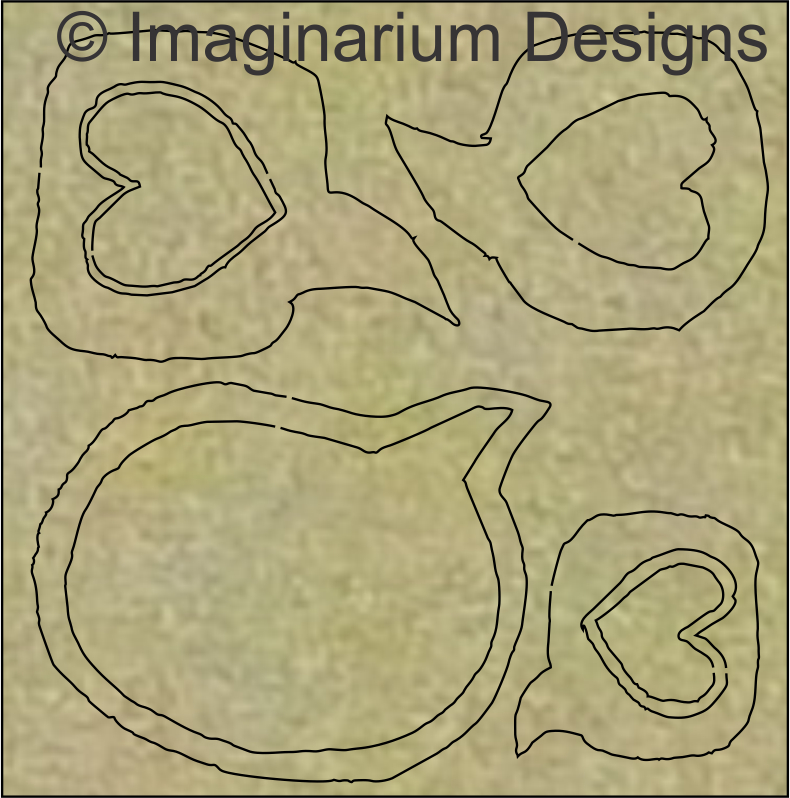
The black and hot pink really compliment that marble pattern paper too. The paper is from Crate Paper's Hello, LOVE collection. And those really funky and foil stickers are from Typo.
The gold stickers were the inspiration for the gold embossing on the Callout chipboard.....

Love that sparkly gold finish! I removed the inner heart and inked that in Island green to also coordinate with the pattern paper. Really cool.
I had such fun creating this layout - it really came from the heart. Thankyou, Louise!
Imaginarium Products Featured:
Next up, I have this super sweet Summery layout of my darling boy at the Seaside....
"DOWN by the SEA"

Isn't this fun?!
It features the stunning Cocoa Vanilla Studio: Hello Sunshine collection, and is just super cute for Summer!
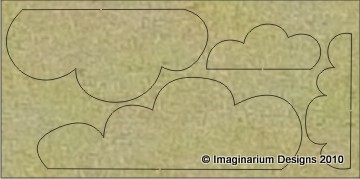
I've combined some of my fave chipboards here to really 'build' a story in my layout.
Let's look a little closer.....

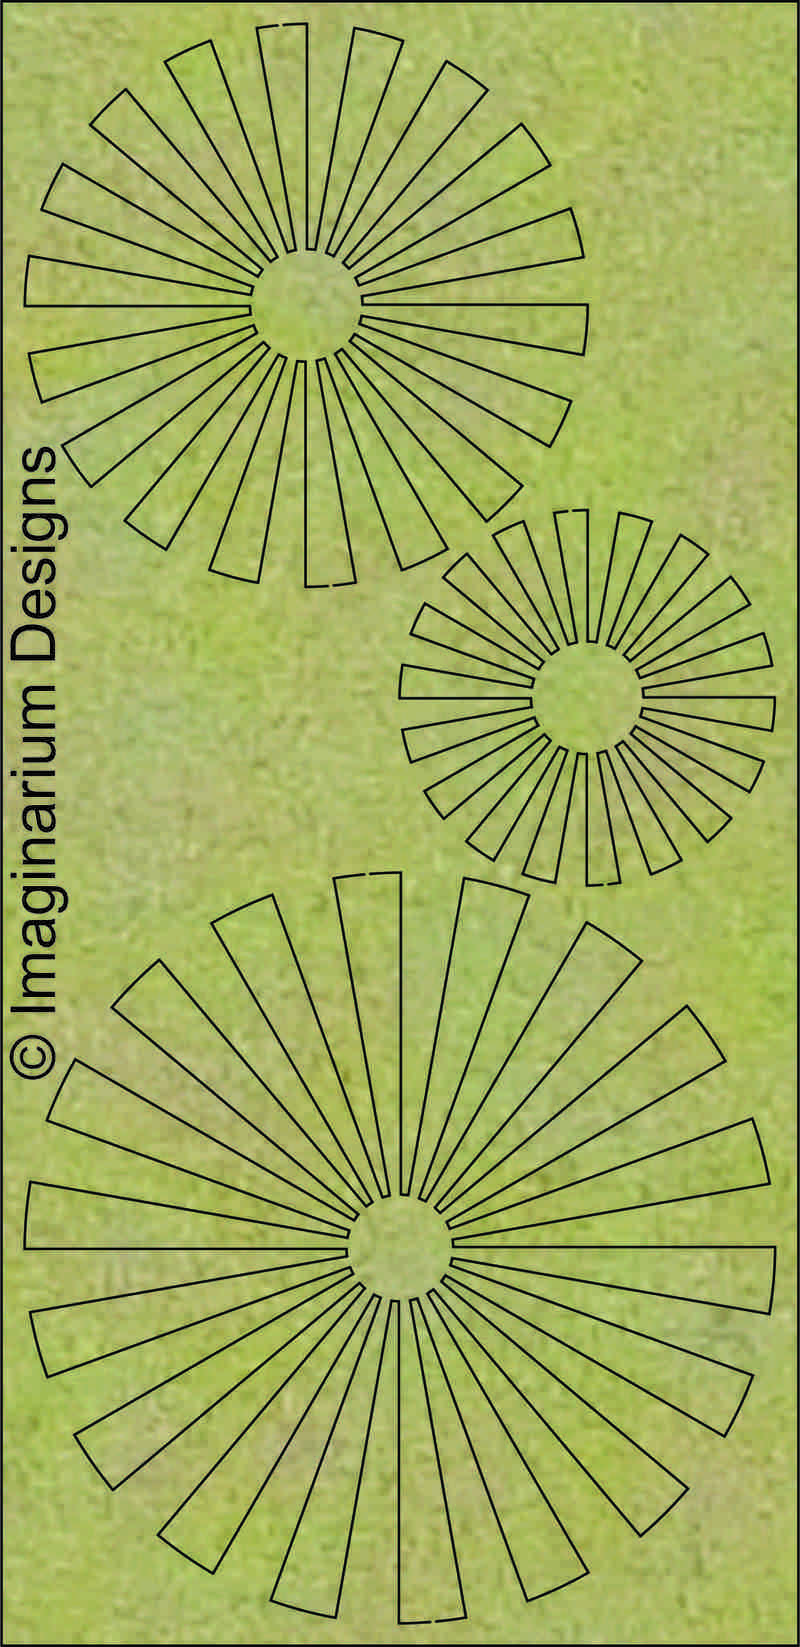
Soft, matte, pastel baby blue ink for those sweet clouds, bold royal blue ink for the title, and a shimmery hot orange ink and mist combination for Nat's pinwheels. So awesome!

To make those pinwheels appear to be Summer suns, I used Kaisercraft: Tangelo ink pad, and then gave a double coating of Kaisermist in Yellow. You don't see the yellow, but it toned down the orange and added so much shimmer to the 'rays'.
And how cute is that cloud with the complimenting flair? Buttons are a really fun and playful embellishment to add to your chipboard.
Super fun, bright and happy!
Imaginarium Products Featured:

And last, but not least, here's the tutorial I promised.
I'm not much of a 'special' cardmaker, but occasionally I have something so wonderful happen that I do indulge. This super pretty card is for my darling daughter on Opening Night of the Ballet.
(She is cast to star in The Australian Youth Ballet's production of Mary Poppins - so excited for her & want her to feel our love and support as she takes to the stage!)
She's only just turned 10, so I've used a pretty but also very contemporary colour palette and paper collection to best suit her.
The card is designed to not only offer words of encouragement and recogntion, but also doubles up as on Off The Page keepsake. I hope she likes it!
"Shine, gorgeous!" card and keepsake

I know, it's so pretty huh?!
And it can be recreated in various colour tones & papers to suit your recipients.
Here's how to re-create it....

1. Ink the Emma Frame - avoiding the flourishes. I've used Versa ink in Royal Blue.

2. Coat the flourishes in embossing ink.
I find using the refill nozzle much more controlled for small, intricate details, and you can tidy up the 'blobs' with the end of a pin.

3. Add embossing powder. Dust off excess with a stiff paint brush.
Apply heat & set the powder. I used sparkling Gold Zing by American Crafts.

4. Attach patterned papers to frame. I've featured the Cocoa Vanilla Studio: Free Spirit collection. You'll spy that it has flecks of gold glitter in the paper - coordinating perfectly with the frame!

5. Adhere photograph. I've used Miss M's last ballet exam practice photo, so it really connects with the card's purpose and meaning.

6. Attach to front of card with double sided tape.

7. Embellish frame with blooms, ephemera, title/message etc. I've used the Free Spirit embellishments as they really do partner perfectly with the patterned papers.

8. Last, but not least, add a few rhinestone gems and pearls for finishing touches. All little girls love a bit of bling!

Voila!
A gorgeous card that doubles as a beautiful keepsake Off The Page creation. Just stunning!
You can purchase that divine Emma Frame here.
I hope you enjoyed my post today, and feel inspired to get creating!
*Please be sure to leave a comment to go in the draw to win a pack of chipboard*
Thanks so much for visiting,
til next time,

Love the bold colors and the use of the black and white photos with "Awesome"
ReplyDeleteLove the bold colors and the use of the black and white photos with "Awesome"
ReplyDeleteFab post Amanda, particularly love that first one!
ReplyDeleteLove the absolutely brilliant explosion of color on the first layout!! Scrumptious!
ReplyDeleteTHe second layout is so fun! LOVE the photos. Looks like he had a great day!
The OTP project ROCKS!! Love how you did the chipboard! LOoks like jewels!! TFS!
Gorgeous layouts
ReplyDeleteand the frame is
awesome!
Carla from Utah
Thankyou all for your thoughtful comments xx
ReplyDeleteThankyou all for your thoughtful comments xx
ReplyDeleteAlways create beautiful work amanda!
ReplyDelete