Showing posts with label banners. Show all posts

Saturday, March 4, 2017

"Way Cool" Projects with Belinda Spencer

Hello Imaginarium Designs peeps!!

Welcome to my March post!

Belinda with you today to share two layouts and four cards from a recent card workshop I held at Seriously Scrapbooking.

'Way Cool' Layout


This is my DT layout for the March challenge at Kraft Plus Challenges. The challenge is to use denim on your kraft based layout. I have used a pocket and belt loop from an old pair of jeans as well as a denim super star embellishment from Charm's Creations. What better chipboard than my favourite 'go to' chipboard; the 21 Stars in a Board? 


I have also used a few teeny tiny stars from the Stars Board and the word 'cool' from the Cool Super Brave Word set.


And to show that I am consistent if nothing else, all of the chipboard is painted with white gesso. 😉

IDS0076 21 Stars in a Board


IDT0036 Stars Board


IDW0077 Cool Super Brave


'10 Today' Layout
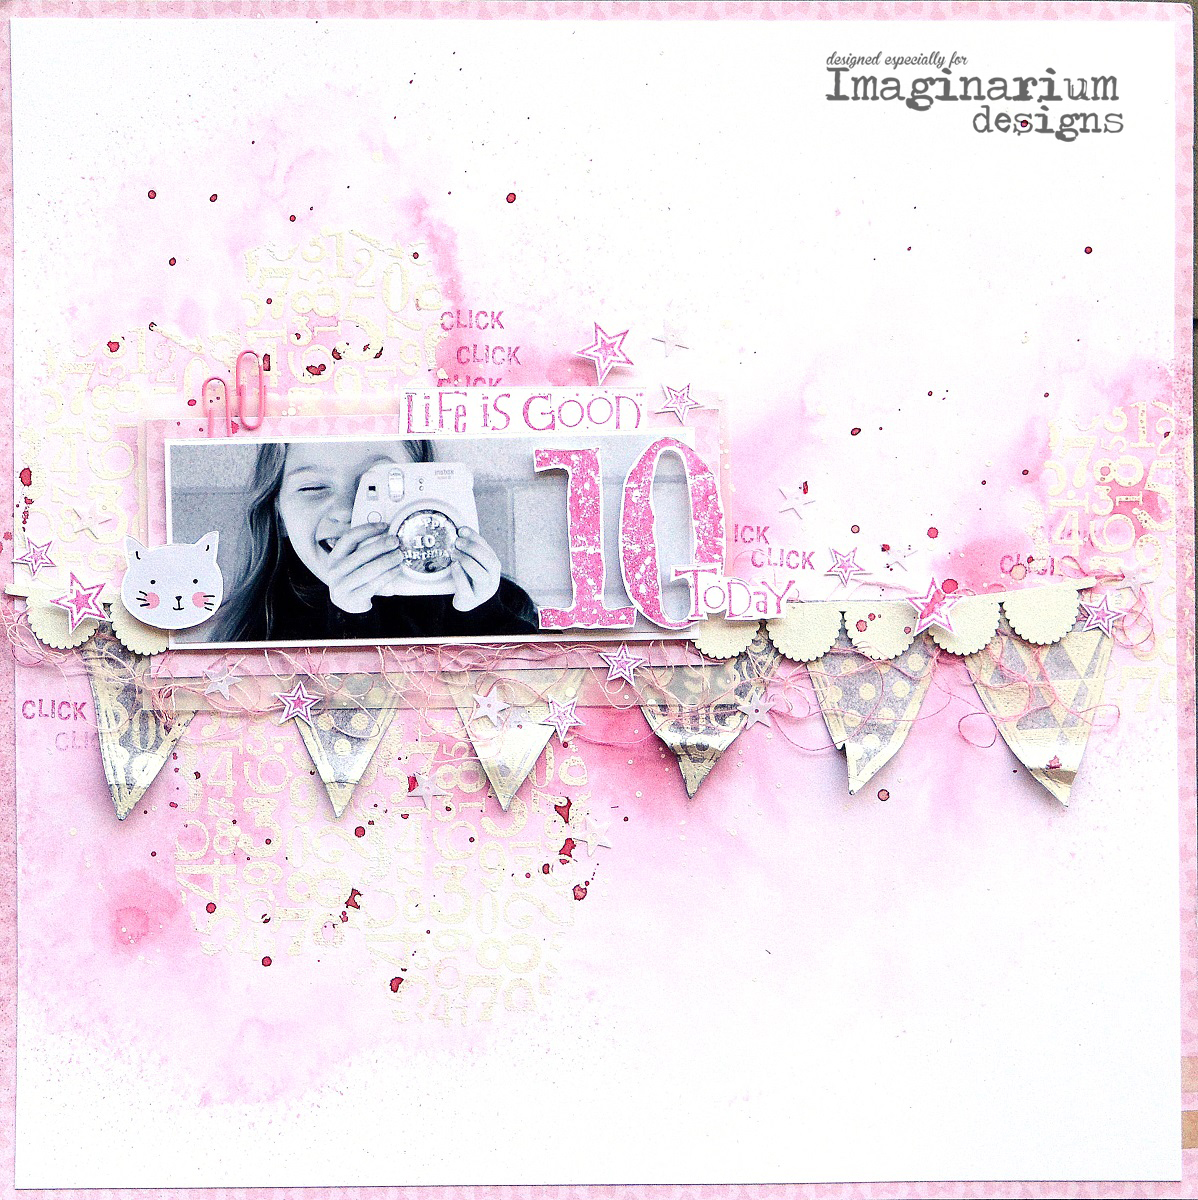

On this layout, I have used one of the super cute banners. I love these banners. They are terrific on layouts as well as cards and perfect for a birthday theme project.


You may have noticed that I have painted my chipboard with white gesso yet again!  It is my favourite way to make the chipboard stand out from a busy or highly coloured background. I have flicked some pink Kaisermist over the top of this banner and layered on some stamped stars too.
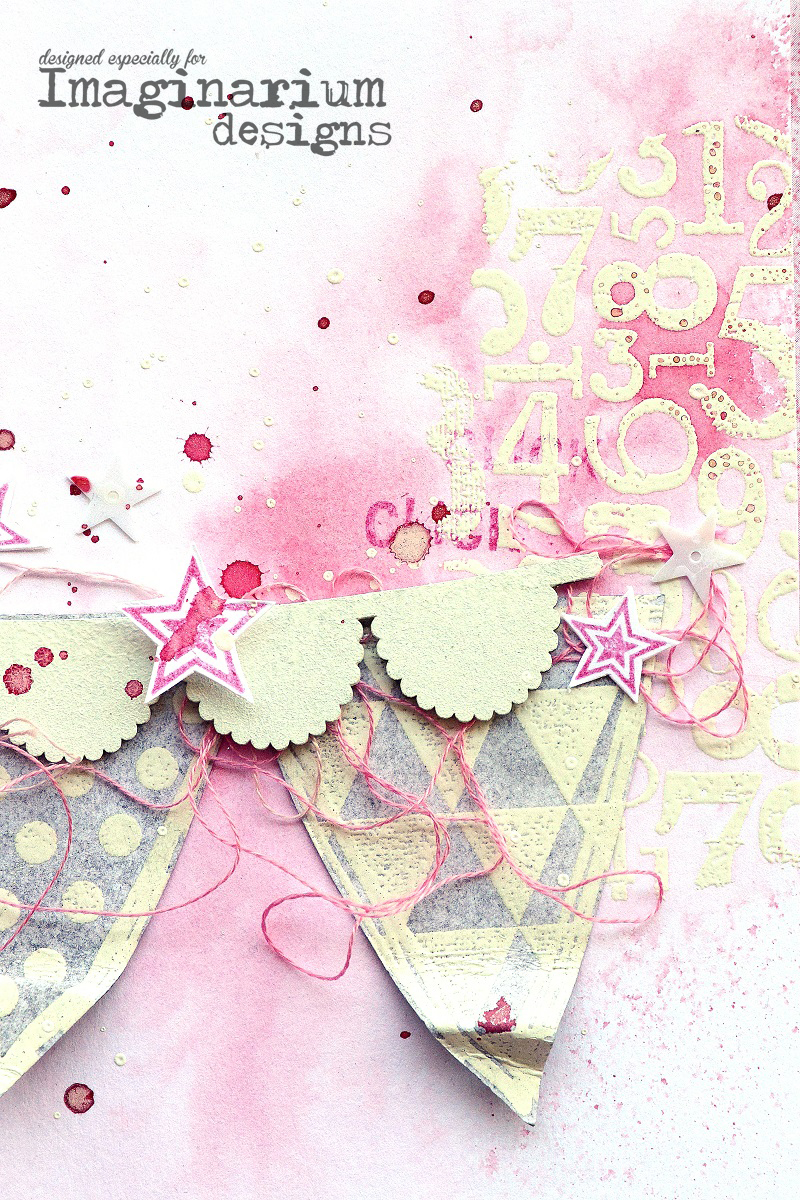

IDS0074 Banners


'Quirky Card Set'

'Grow'Card


'Hello' Card


'Happy' Card


'Happy Whatever...' Card


Did you spot the odd one out??

Every single piece of chipboard is painted with white gesso...except for one!

The circular cross hatch has been altered with a combination of Tim Holtz Distress Stain and Distress Stain Spray in Brushed Pewter.

IDT0036 Stars Board


IDS0079 Two Star Bursts


IDD0025 Loolabelle's Circular Cross Hatch


IDW0079 Imagine Believe Happy


IDW0083 Love Grow Hello


IDD0043 Nat's Hearts 2


IDD0046 Loolabelle's Call Outs


Thank you for stopping by the blog and checking out my projects today.

Cheers
Belinda


Sunday, November 8, 2015

Mixing Old And New

Welcome everyone!
It's Julianne here today, sharing a mixed-media layout. 
And as an added bonus, I've mixed some of the new chipboard designs, with our older chipboard designs, to show you that our products never go out of date.


 "NO GREATER LOVE"
As soon as I saw this chipboard phrase, I knew I had to do a layout about a mother's love for her children, because I honestly believe there is no greater love, than that of a parent for their child. 

 
I created my layout on a 12x12 chipboard sheet, coated with gesso, and using random masks and texture paste. To add colour, I sprayed with Patina Glimmermist, Turquoise Blue glimmermist, and Tinsel Colour Shine.
 

All my chipboard pieces have been coloured with Inka-Gold in Silver, Teal, and Graphite. 


I have coated the title phrase with Glossy Accents to give it added shine and dimension. 


And I have run a wide strip of Glossy Accents along the top of the banner, and coated it with beads. This has given it a lovely texture, almost like a rope or twine.

I have finished my page with a scattering of sequins, Prima crystals, and Bella! bling. 

IMAGINARIUM DESIGNS PRODUCTS:


Thank-you for joining me today. It has been a pleasure to share my layout with you. Don't forget to leave a comment and a little love, and you will automatically be entered into the draw to win an Imaginarium Designs prize pack of goodies. 

If you would like to view more of my work, please visit my blog:

Cheers and have a wonderful weekend, xxx
JULES


Monday, May 5, 2014

Banners And Stars

Welcome everyone! I hope you have had a wonderful weekend. Today, I am sharing two layouts with you, both using the same products, but with different techniques. I will focus on how I have used the chipboard banners (my new addiction!) and stars on both layouts, but with different outcomes for the designs created.  

Firstly, I'd like to share a layout I created of my youngest daughter (before she decided to go on a growing spree and become a giant, lol!). 


"TOTALLY ADORE"
This layout started with the vellum envelope filled with sequins and buttons - and this idea originated from a class that Kim Archer taught at a recent scrapbook retreat. I thought to myself - that is really cool, and I want to try it on a layout. This is the end result. And once I had worked out the design, I decided I didn't feel like taping or gluing all those paper layers down, so I simply stapled them to the cardstock (yes I did!!!).  


The clouds were very simple to create - I painted them with white gesso, covered them with Kindy Glitz (crystalline), and adhered them with Helmar Liquid Scrap Dots to give them height and dimension.


The banner was a little more time consuming, but still relatively easy. I painted the banner in the required colour, adhered it to the layout with foam dots (for height), then added coloured rhinestones. I then finished it off with a coat of Dimensional Magic, which gave it a glossy, shiny look, and a little protection.

The stars were created by experimentation. I covered them with blue ink and dried them thoroughly with a heat gun. I then added a coat of Tattered Angels Icicle Glimmer Glaze, and quickly sprinkled some crushed silver glass over the top (before the glaze could dry), for a glittered effect. I love the final outcome - I think these stars are gorgeous! (Not to mention very, very versatile).


The title has been painted blue, and coated with Dimensional Magic. With all the other details and sparkles on the page, I wanted to keep the title simple.

IMAGINARIUM DESIGNS PRODUCTS USED:


My second layout was created for the "One Of A Kind" challenge on the Page Drafts Challenge Site. The entire Imaginarium Designs team joined in the fun this month, and all their beautiful work can be viewed on the Page Drafts blog


"SUCH A BEAUTIFUL MOMENT IN TIME"
I created this layout using one of the sketches from the Page Drafts challenge site. I again used the banners and stars, but to create a totally different design. 


I used Dylusions mists to coat the flourishes, then added Stickles glitter for a little sparkle. The butterflies were created using a combination of Heidi Swapp's teal and gold mists, with large rhinestones added to the centre for further detail and decoration. The title "Moment In Time" was simply coated with black ink, then heat embossed with black embossing powder. 

This time, I kept my stars simple - a coat of black paint, finished with a coat of Glossy Accents. Don't they look lovely and shiny! 


But I had the most fun with the banner. I wanted something different other then just a coat of paint. So again, I decided to experiment. I used the Heidi Swapp teal mist to coat the benner, but before it could dry, I finely sprinkled some embossing enamel (aged teal) over the top. I then carefully heat embossed the enamel, so as not to cause it to bubble. The end result was an amazing banner with a glittered and textured finish. I simply finished off the banner with a row of rhinestones for a little added bling. 

IMAGINARIUM DESIGNS PRODUCTS USED:


Thank-you for joining me today, and don't forget to leave a comment to be in the draw for a prize pack of Imaginarium goodies!!! 

If you would like to view more of my work, please visit my blog: 

Have a wonderful week!!! xxx