Showing posts with label Wendy Duwakin. Show all posts

Tuesday, September 11, 2018

Colouring Chipboard with Pencils

Hi Everyone

It's Wendy back for this months projects and a couple where I have gone back to something I enjoy immensely and that is colouring with pencils.  The adult colouring in phase is going gangbusters at the moment and I have to admit that I have been caught up in the craze for a while now.  What can I say I just love to colour! You can also achieve a beautiful finish using pencils to colour directly on chipboard as well (note the higher wax content of the pencils gives better coverage).

The first project is a "postcard" and like a couple of my previous projects this was just part of a pull-a-part book I picked up a typo.  The project just lets the chipboard stand out (I have inked this in archival black).  The colouring does take a while but the end result is so worth it. I have also used some black rhinestones to make it really pop!


The next project you can see how vibrant the colour is on the feathers - this has been done with prisma colour pencils.


Hope you like these projects and feel free to contact me if you have any questions about the colour combinations or how to use pencils on chipboard.

Have a great week and keep creating!
Wendy


Chipboard Used


ID0007


IDD0058


Wednesday, July 11, 2018

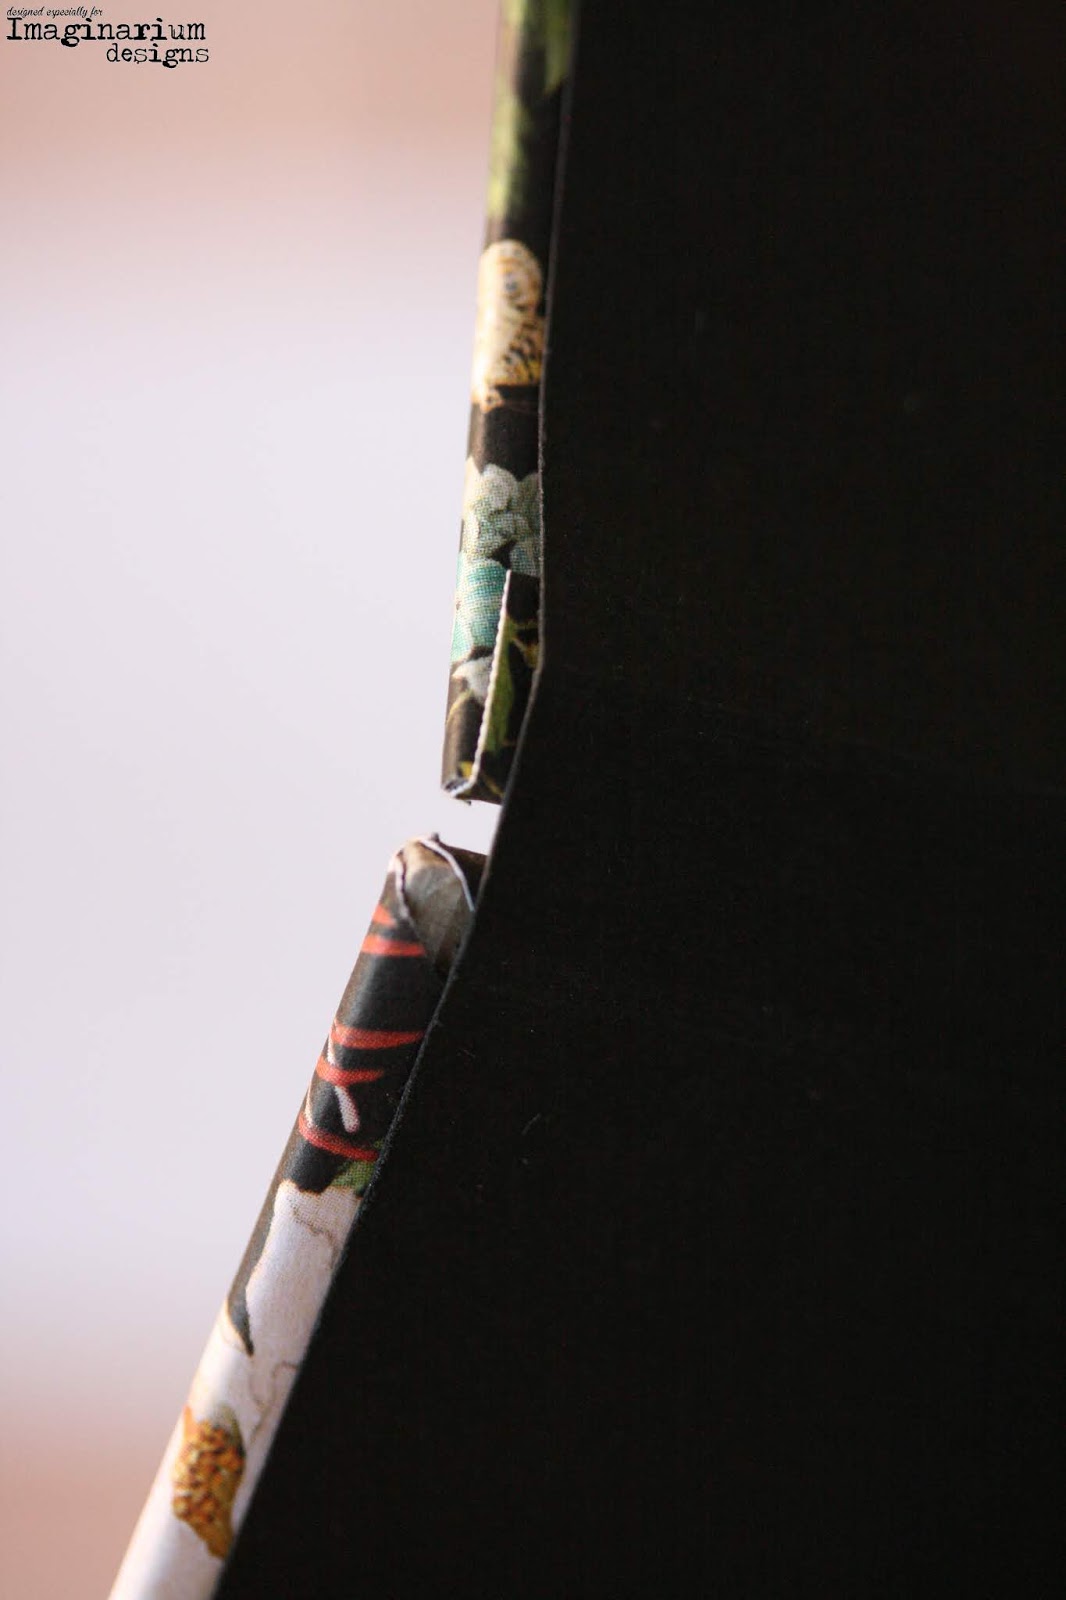
Chipboard Post-It-Note Holder

Hi All

It's Wendy back today and to share a functional little project using sheets of chipboard.  Some of you know that I love my score-pal and use it for everything (I actually have 2 x scor-pals, 2  x scor- buddies and another brand so let me see ....... yep 5 scoring tools).  I am always checking out the tutorials on-line around gift boxes and I came across the instructions for making a post-it-note holder which uses sheets of chipboard.  Perfect!  I paired this with one of my favourite Graphic 45 papers "Bird Song" and it all came together - not quickly but I got there in the end!

So first up the post it note holder - by using the chipboard it makes it super sturdy and looks great covered with the paper.


The link is here if you would like to tutorial to make this little holder.  Post It Note Tutorial

To compliment the note holder I have done a card using the same paper and used Adirondak Paint in Butterscotch to cover the chipboard.


I hope you enjoyed this months projects - don't forget our monthly challenge which is "Orange" email a picture of your project using Imaginarium Chipboard to Jane sales@imaginariumdesigns.net.au to go into the draw to win a chipboard pack.

Keep Creating!
Wendy


Chipboard Used is below:-


12 x 12 Sheet 
(IDS0072)

The Flourish on the card is a newbie and I am sure if you contacted Jane she would be able to help you out with ordering this item.


Friday, May 11, 2018

Distress Oxides + Chipboard + Mothers Day!

Hi Everyone 

It's Wendy back again with some stuff I haven't played with before ...... oh and that's right it's Mothers Day this Sunday so I have based my cards this month around that theme.  I had purchased some Distress Oxide ink a while ago (they were still in the wrappers) so I thought I might have a bit of a play with these and in particular a saw a technique recently where they were used with prismacolour pencils so I gave it a whirl.  

I have done these cards with two very distinct moods - the first couple have the classic mothers day feel, very feminine with the simple technique of inking the chipboard and then using glossy accents over the top for a nice shiny finish.  If you are new to working with chipboard this is the first technique I always recommend as it is super easy but the finish is just lovely and it's my go to all the time.  


The next couple of cards have a more modern feel about them and this is where I have used the distress oxide ink with prismacolour pencils to create the leaves using Dina Wakley stamps.  


For the next card I have again used the distress oxides to create the background and found this movie reel piece in my "odd & sods" box then I found some movie reel printed acetate and I cut out the images and stuck them to the black piece of movie reel.  I just love this card and for once the photos actually capture the classic simplicity of this card.  The chipboard was sprayed with some black spray. 


What I am trying to show is that chipboard suits any type of card or project and is easily adapted to your theme or mood.

Thanks for stopping by and the list of chipboard I have used is below.

Keep Creating 
Wendy


Chipboard Used


IDW0094


IDW0027


Wednesday, April 11, 2018

Weddings, Chipboard & Ephemera!

Hi Everyone 

It's Wendy back with a couple of cards and .......................... a layout!!!!!! Now you can pick yourself off the floor it's okay, I had a moment and in that moment I thought it might be nice to scrapbook my brothers wedding photo from over five years ago!!! I also couldn't get out monthly colour challenge out of my head - everything I picked up to use was green so I thought ah just go with it for the cards!

First the layout!

For the chipboard I used gold chunky embossing powder and didn't melt it all so it left a really lovely texture to the letters.


For the cards I wanted to use some of my ephemera packs as I really struggle with putting all the layers together and deciding where everything should go.  I found that using the chipboard as the anchor and then working from that was really helpful.  I have used just one layer of "leather" embossing powder from Colour Blast.


Again above just using the same powder to created a bit of a mottled effect.


As you can see chipboard is so adaptable you can use it for any occasion and with many different mediums.

Chipboard used is as follows:-


The flourishes I used on the cards are a new range so if you are keen on these ones just give Jane a call and she will be able to help you out.

Keep Creating
Wendy


Sunday, March 11, 2018

Chipboard & Paint!

Hi Chipboard Fans!

Wendy here from Wicked Lady Cards this month I have gone back to my favourite colour combo's - browns & creams with a pop of colour!  So this month I decided to use some paints with my chipboard because I love the simplicity using paint and the coverage is great I like to apply a couple coats just for a really nice finish. I am over my break-up with flowers I have let them back into my stash!!!


So below I have taken some photos to show you exactly what products I used to achieved the looks for the chipboard.


Lastly some up close photos of the chipboard!


Thank for stopping by, the details of the chipboard I have used is below.

Keep Creating! 

Wendy


The flourish on the Sugar Plum card is a new design.

Product - Denise's Art Deco
IDD0027

Product - You & Me
IDP0023


Product - Leaves & Circles
IDFL0008


Thursday, March 1, 2018

Colour of the Month Challenge - March

 Hello Everyone.
Welcome to our Second "Colour of the Month" Challenge. 
The colour of the month for  March is TEAL One of our favourite colours and with a powerful message as Nat has shared with us.


Our Photo Collage is made up of my personal photos and photos from our Design Team Ladies.

This months photo's are as follows.
A view from the "Finding Nemo Submarine Voyage" at Disneyland. (I even got claustrophobic on this kids ride)
Details of all the beautiful work on one of Nat May's art boards.
Dragonfly wall art at the San Francisco Airport.
Table decorations at Solange's daughter's wedding.
A set of window shutters in Noumea.

If you would like to take up our challenge and come up with a project using our colour of the month, then send me some photos and a list of Imaginarium Design chipboard used. It needs to sent to me by the 23rd of the month. We will show it here on our blog during the month or at the end.
At the end of the month I will choose two winners. Each winner will receive a bundle of our chipboard worth $50. Every week the design team will be sharing their projects to inspire you. We will also be giving way 2 small bundles of chipboard each month as well. All you need to do to be in the running to win one of these is leave a comment on any of the posts we share or on our facebook page. All winners will be announced on the 25th of the month.
So Lets see what the design team girls have been up and have created using the colour Teal.

So first up is Wendy.


Wendy has done two stunning cards for us and they are quite different. Wendy has chosen beautiful colours to use on her cards and has included a bit of a tutorial to show us how she did the chipboard.
Here is what Wendy has to say about her cards.

 for the patterned card I have used a mixture of kaiser artist pencils and prisma's in conjunction with a paper stump and blending solution. The hand has been done with only prisma's. I had planned on doing a couple more but seriously underestimated the time it would take (12 hours for one and 5 hours on the other). Just to be clear I have never picked up my prisma's until now so I am sure that once I start practising a bit more my blending will get better. The "hello" was also done with pencils and it was so easy to achieve this look and I love the variegated colour that you can't always get with embossing powders or inks it looks fab and will definitely be added this technique for some up-coming chipboard projects. Will I actually post them? Absolutely but in an envelope so as to minimise damage! I may also do the other cards I have for more colour challenges as I really enjoyed the whole process - so for all you colouring in peeps, get some chipboard and colour these as well to make your projects really pop!So for the patterned card I have used a mixture of Kaiser artist pencils and primas’s colour pencils in conjunction with a paper stump and blending solutions.
The hand has been done with only primas’s I had planned on doing a couple more but seriously underestimated the time it would take (12 colours for one and 5 hours on the other).


Just to be clear, I have never picked up my primas until now so I am sure that once I start practicing a bit more my blending will get better. The Hello was also done with pencils and it was so easy to achieve this look and I love the variegated colour that you can’t always get with embossing powders or inks it looks fab and will definitely be added this technique for some up and coming chipboard projects.

IDW0102 Hello 4 in a Board.


Will I actually post them? Absolutely but in an envelope so as to minimize damage I may also do other cards, I have four more colour challenges as  really enjoyed the whole process – so for all you colouring in peeps get some chipboard and colour theses as well to make your projects really pop.
Wow, Wendy has done an amazing job on her cards. the colours and shading is amazing. Love the variegated look on her chipboard title. It is just beautiful, and I am amazed that she is going to give them away.  I think I will have to put my hand up to receive one of these!
Thanks Wendy for sharing.
Next up we have Nat.
Nat's layout is very personal and the story behind it - very powerful.
Here is what she has to say about her layout.

Teal is a very important colour to me - It's the Colour for Ovarian Cancer. I am a survivor of Ovarian Cancer. I am nearly in remission and thankful everyday that I beat the odds and came out the other side. This page is simple but powerful for me - I am Happy!
I used Lindys Stamp Gang sprays in Tibetan Poppy Teal, Tainted Love Teal and T-Bird Turquoise to colour the backgound and the gave the chipboard a generous spray using Tibetan Poppy Teal and Tainted Love Teal. The chipboard words are coloured with a black posca to get a nice rich coverage. The chipboard I have chosen is also part of the journey - it was all designed by me! 
 Such a beautiful and strong colour - just like Nat herself.
Nat has used a beautiful photo of herself for this stunning layout along with some her own designed chipboard and handwriting.

IDD0041 Nat's Pin Wheels
Nat has stunning handwriting and you can see it here on her layout.  We have also used it for lots of our chipboard words and phrases.
IDW0079 Imagine, Believe and Happy.
 
IDW0097 You Make Me Happy.

 
IDW0094 #instagram, #awesome, #happy. #wonderful, #selfie

Such a beautiful and powerful layout to celebrate Nat's strength and courage. She is an inspiration to  lot of ladies through her own personal journey and her scrapbooking.  She shares her passion for life and art all over Australia and the world.
Thank you Nat for sharing a bit of your journey here with us.
 
Last up is Karyn.


 Karyn has done a lovely light layout and chosen a lovely selection of photos for her page.
Karyn has used one of our new chipboard hearts to create a frame for one of her photos.
Here is what Karyn has to say about her layout.
I've created a scrapbook page for this challenge using a sequence of photos of Jessica eating Honey. Jessica loves eating with her hands - and honey is no exception lol. Even at 10 she prefers to use her hands rather than a spoon of fork!!
I started by using white cardstock and used a painting with plastic technique to create the background. I used a dye ink pad and smooshed it on the plastic then added some water with a paintbrush. I then smooshed across the page. I repeated this until I was happy with the background. Then I added splatters of the ink (smooshed the ink pad onto my craft mat, added water then picked up with a paintbrush and splatter)
 
Lastly on my background I added ink with a sponge through the new “heart Imaginarium design stencil.
 IDT0019 Bird Cage Small
 
 IDD0042 Nat's Hearts 1
 

IDD0044 Nat's Hand Drawn Leaves
  I love the ombre look of natural chipboard with coloured tips.  
IDD077 Loolabelle's Chevrons #2
Next it was time to put my page together. I placed a strip of teal muslin across my page then attached the 4 photos in a line. Next I added all the chipboard embellishments. They were inked with the teal ink pad,  some completely and others just on the edges. I also added some paper flowers , tags enamel dots and a flair to finish.
IDD0048 Loolabelle's Piechart and Hearts
What a lovely layout with lots of details included on how Karyn put the page together. I really love Karyn's use of white space on her layout. Her photos are just gorgeous and tell the whole story.  
 
Thanks Wendy, Nat and Karyn for getting our challenge underway for this month. I am hoping lots of you will join in and take part. I look forward to seeing what you all come up with.
Over the next few days, our Design Team Members will be sharing more of their beautiful projects to inspire you.
I will be back in a few days time to share more of our "Colour of the Month"  projects from our amazing  Design Team. As all the Ladies on our team have different styles, it should be an interesting and enjoyable month of creativity, with something to inspire everyone.
Thanks for looking.
Jane
PS Don't forget to leave a comment here or on face book to go into a draw to win a small bundle of our lovely chipboard. Maybe you can use it to enter next months Colour of the Month Challenge.