Showing posts with label Tutorial. Show all posts

Friday, January 13, 2017

Friday the 13th... a Lucky day with Alison Bevis

Hello!! 
My first blog post for 
Imaginarium Designs
and I've enjoyed gathering some lovely chipboard designs 
and creating some projects..

I love to give handmade cards, 
so naturally I enjoy putting them together too!!

'You are Lovely' card


I had some pretty papers leftover from a couple of projects so decided to make a set of 3 cards to add to my stash so they are ready to go if I need one quickly!


The Oval Swirly Frame has simply been inked - the Leafy Flouirsh has been covered with a coat of Crackle Paint, when it had dried and crackled a little adhesive was added randomly and sprinkled with some 'Prills' and micro beads. 


 Oval Swirly Edge

'Blessed' card


I've cut a patterned paper to cover the card front, a paper doiley and a little fussy cutting, adding a couple of flowers finishes the card. 


Another 'Leafy Flourish' with a coat of Crackle Paint and while it was drying I sprinkled over some glass micro beads - they add a soft texture that is interesting.

'Melody of my Soul' card


I like to line the envelopes with a little scrap of patterned paper, it's a nice touch?


The 3rd Leafy Flourish was first inked with a Copper ink, then a little Liquid Pearls randomly added before a little spritz of shimmer and left to dry, before adhering for the little bird to sit on.

The three cards make a lovely set or each as a nice Thank you, Birthday, or just Hello card for someone.


I also looked at these 'Thistles'
Thistles

and imagined our niece sitting in a field of wildflowers

'Precious Grin'


I started by stamping some twigs and leaves towards the bottom of the white cardstock, added some misting - and the title
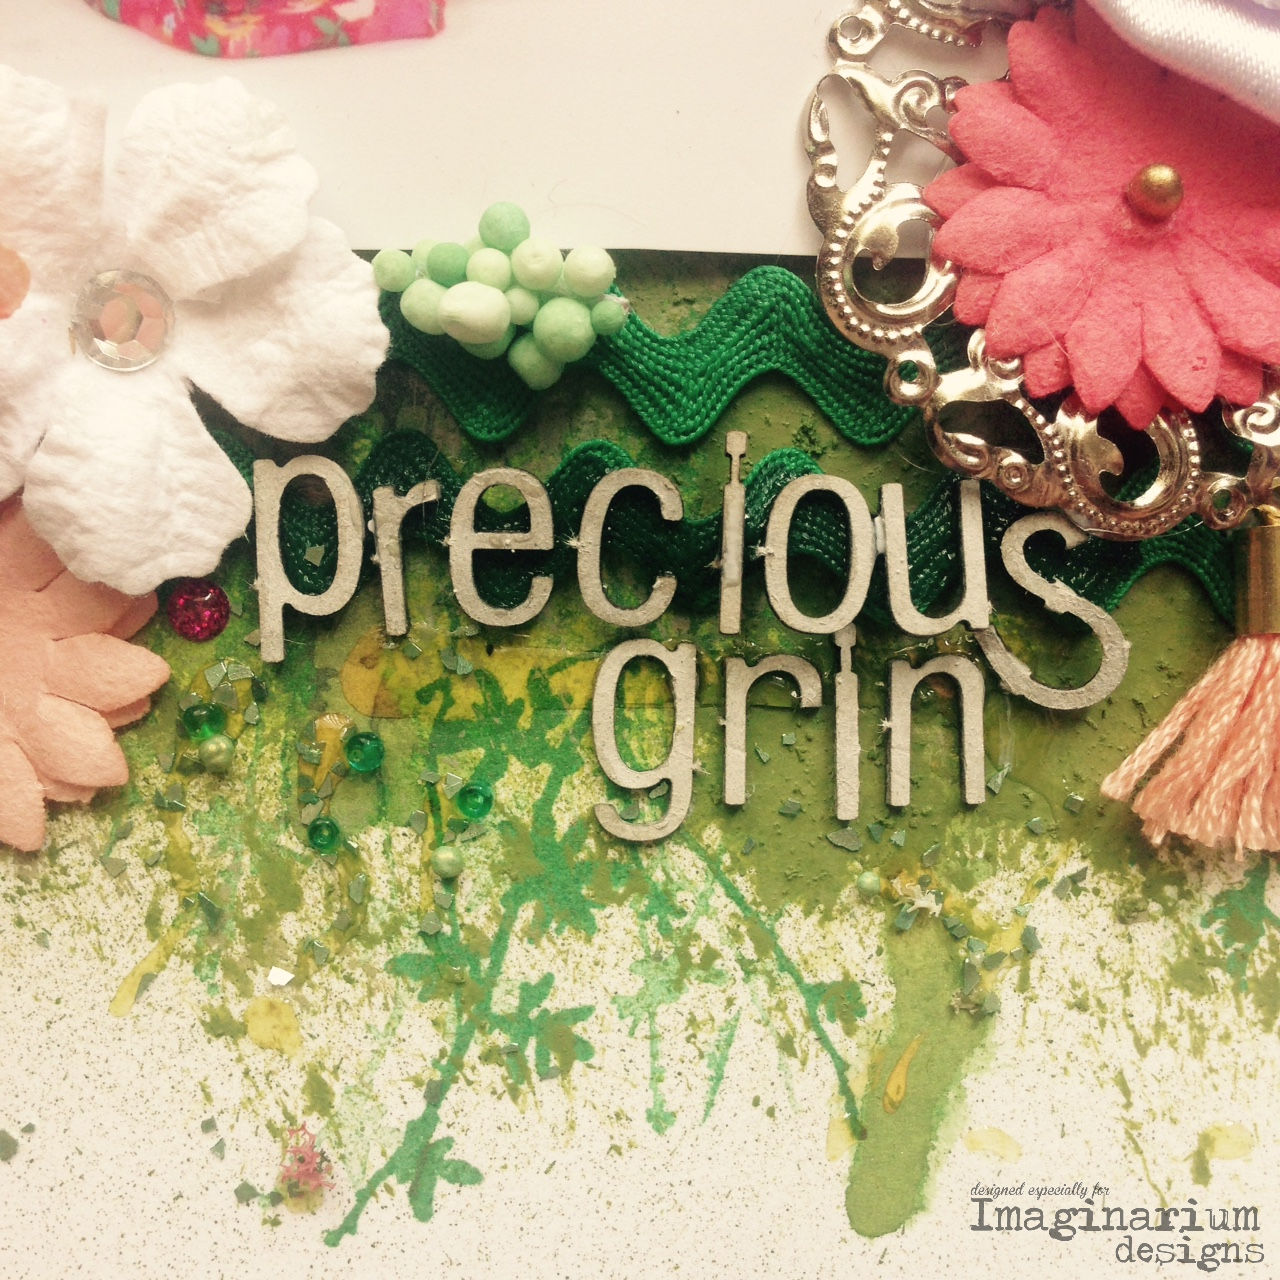

The Thistles were misted then a pinch of 'Flower Soft'


You know those flowers with long wires? They are easy to twist into a leaf shape - have you done this before?


How beautiful are the Dragonflies wings!! I've swiped some ink across and the body has a coat of glossy accents - simple!


And some of you might be getting children ready to start back at school, or maybe they already are  or perhaps you are like me and have 30 years, over 3 children to catch up on!! 
However I still procrastinate as this is our niece! 

'School photo' layout Tutorial


I used the width of my ruler to make a border on a piece of A4 gloss card


I then used the chipboard 'scraps' to make a border - 


I sprayed the frame with gesso - 


Then misted with a few different Green and Yellow
shades to give a little colour - 


When it had dried a rubbed the surface over with a Green ink pad - 


Then added a bunch of colour co-ordinated embellishments to fill in the gaps - 


Little brads, seed beads, tags and a title of SMILE..


It's quite a long post so, 
you get a gold star for making to the end - Thank you!!
Be sure to check the blog for more inspiration,
Alison xx

Image may contain: 1 person, smiling, close-up and text

Sunday, October 2, 2016

Dressing Up Your Chipboard Tutorial with Amanda Baldwin

Hello Friends! 

Welcome back for more Imaginarium Designs chipboard inspiration with Amanda
Today I am sharing a quick tutorial that demonstrates some really effective ways to dress up your chipboard. I'm also sharing a special cultural page dedicated to all our Japanese friends too! 
With so much wonderfulness to share, I better get straight into it!

Here's my first layout, 
"A Moment In Time"


Naww! I {heart} this moment! My heart is full, indeed!
I've used the delicate and soft Cocoa Vanilla Studio: Love Always collection and teamed it up with some of our favourite chipboard designs, & Lindy's Stamp Gang Magicals to create this wonderful page.
Let's take a closer look.....


So much chipboard prettiness! 


How awesome is that delicate title?! 


And how about that sweet lil birdy?!!
I mean, can it get any cuter?!

Wanna know more? 
Well, here's a step by step process of how I created this page.....


I start by playing around with my photo, papers and chipboard til I come up with a 'base' plan. 
I like to have a good idea of where I am going before I start getting messy. 
You'll notice that the frame I use is actually the Family Snap Shots Frame with the inner removed. I plan to cover the cut out word with pattern paper.


I glue my heart, as well as the frame, onto my pattern paper. I cut out the design with a craft knife, and then file down the edges with a sanding tool. 


This is the result. Love it! Papering over chipboard is such a fun way to dress it up! 


I decide to use white embossing powder for that pretty heart - I love the gloss finish that heat embossing gives to your chipboard!


And lastly, I apply my favourite juicy inks to the remaining chipboards. The colours are Silver, Petal Pink & Seafoam. 

Now time to assemble the layout.....


I start by applying gesso and Lindy's Magicals in Tiffanylou's Blue, with a palette knife in a circular fashion.
I also add a few watered down drips and splatters to soften the gesso shapes. Allow to dry.


I assemble the smaller RH corner embellishment cluster first. 
I glue the papered heart down, and then layer this chipboard with a tag, that sweet little seafoam bird and an accent vellum shape. 
I add the tiny hearts for balance. 


I decide it looks unfinished, so I dress the papered heart with a sentiment and add a little thread too.


I move onto my photo cluster now. I layer my photo onto a few of those pretty Love Always pattern papers. I slide my embossed heart into the pattern paper layers and glue everything into place.


Next, I attach the frame to my photo. I dress that frame up a bit more with a sweet flair button and an acrylic bow charm - also from the Love Always collection.


I embellish around the frame with some Cocoa Vanilla Studio Die Cut Ephemera and Bits n Pieces. I love the tassels that come in the Bit n Pieces pkt! 
I also glue down that tiny, silver title, "A Moment In Time" just beneath my frame. Gorgeous!!!
Here's an extra look at that sweet title....


Love it!


I decide to add a little more thread - just beneath that ephemera cluster. I then attach those darling little hand drawn hearts by Natalie.


You'll notice that I position one of the tiny hearts onto the embossed heart - this time layering my chipboard with more chipboard. Love this look!


To complete my layout, I add a few Accessory Stickers and those incredible silver Sparkles-Enamel Dots. 
Voila! 


One very pretty layout packed full of ideas on how to dress your chipboards!
Hope you enjoyed my process / step by step layout!


My other layout that I am sharing today is really special. 
My daughter recently undertook an inquiry into the history, and culture of Japan. It was a wonderful learning journey and included a day where she wore this aaaahmazing Kimono and shared her discoveries about the Cherry Blossom Festival. Naturally I took lots of photos! 

Here's the resulting layout, 
"Fairytale Life" 


I know, how special is this?!!
Loving everything about this layout!
That cherry blossom paper is just perfection for this page! 
And take a look at those divine blossom chipboards!!! 
The culture of Japan really is a beautiful story

Here's a closer look at those pretty chippies.....


That title! SO exquisitely cut that I needed to do it justice. 
I inked it in ombre pinks, and then coated the lighter word 'Fairytale' in Glitzin Glamour Hot Pink. Love the glitter shimmer!!!


I used the ombre technique on the smaller blossom too, and then finished it with a rose gemstone.
The branch with leaves chipboards have both been heat embossed in white. The smaller one has also been embellished with some tiny blossom stickers. So very pretty!!!  


The larger blossom is inked in Rose Red, and then also finished off with a rose gemstone center. 


It's just so very beautiful!


Hope you liked this sweet, girly, pink page as much as I do! 


Thankyou so very much for visiting today!

*Please be sure to leave a comment to place you in the draw to win a pack of chipboard*

Til next time,