Showing posts with label stencils. Show all posts

Saturday, April 28, 2018

Krafty Kards :) :) :)

Hello Hello :)

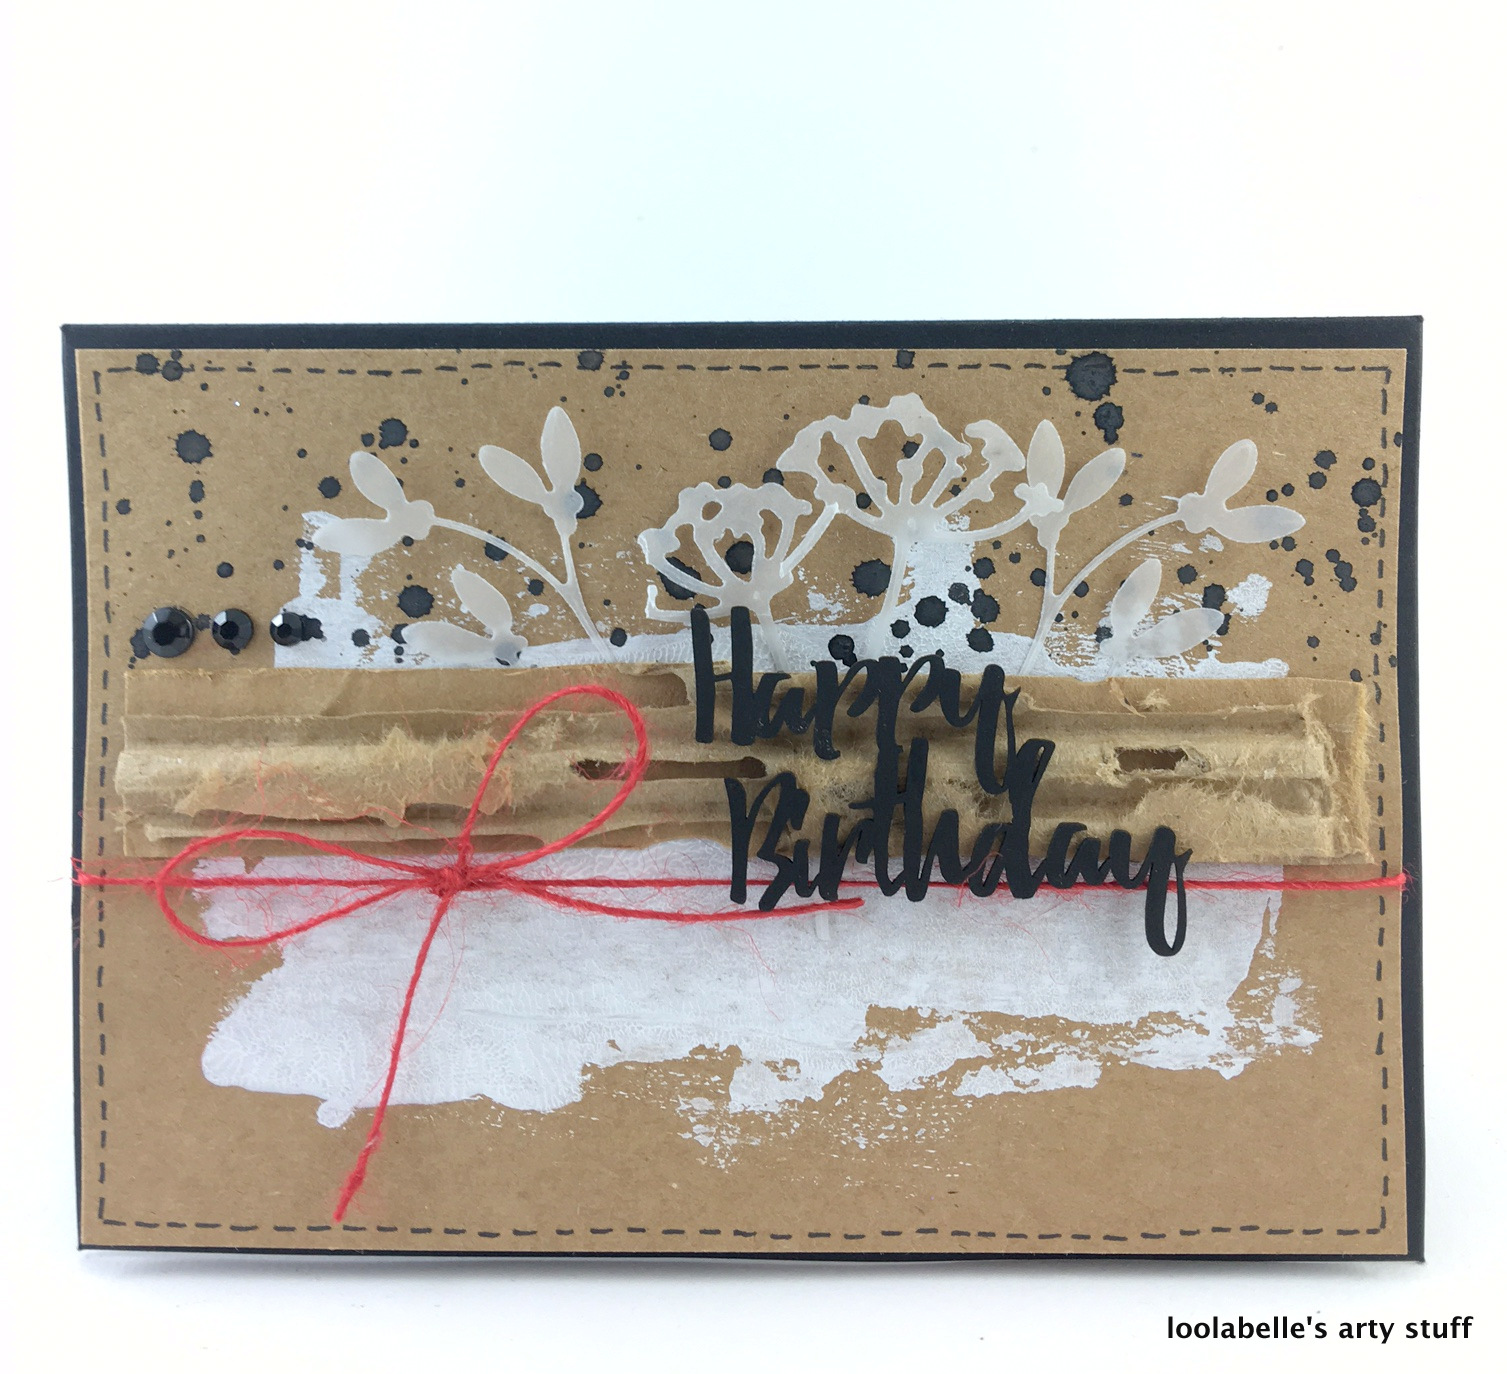
Today I would like to share with you 4 fun Krafty cards that I created using fabulous Imaginarium Designs chipboard titles/words!!! Some of which are recent releases.

With all of the chipboard words/titles used on these cards I have used a black chalk ink pad.


 Aaaand to finish up I would like to share my take on the current monthly colour challenge. I have created a layout using some of the recent release Flourishes and titles.


Just to be a little different for this colour challenge I created a green coloured background and then to make the chipboard pop I painted it white! :) :) :)
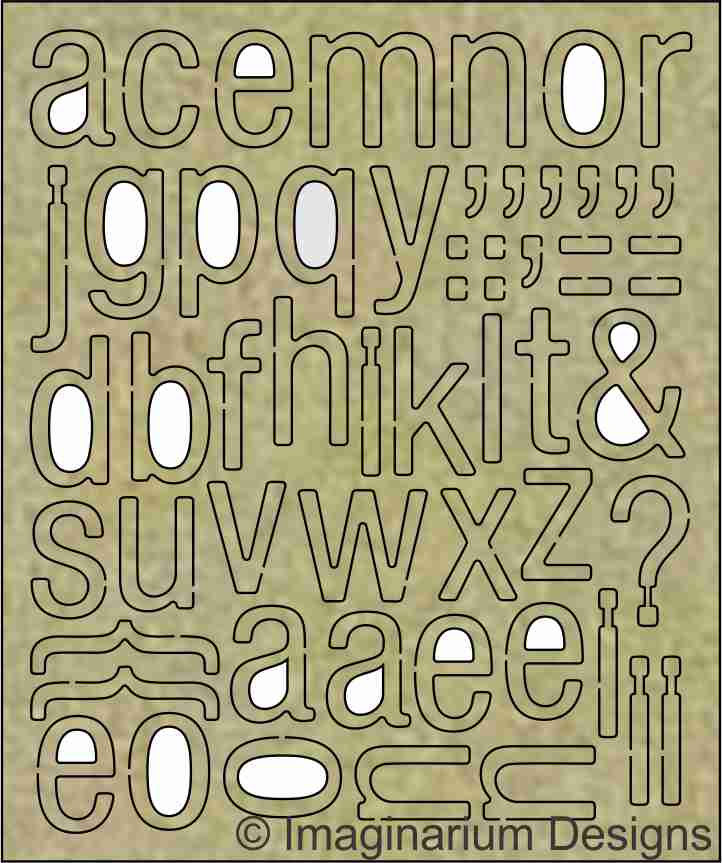
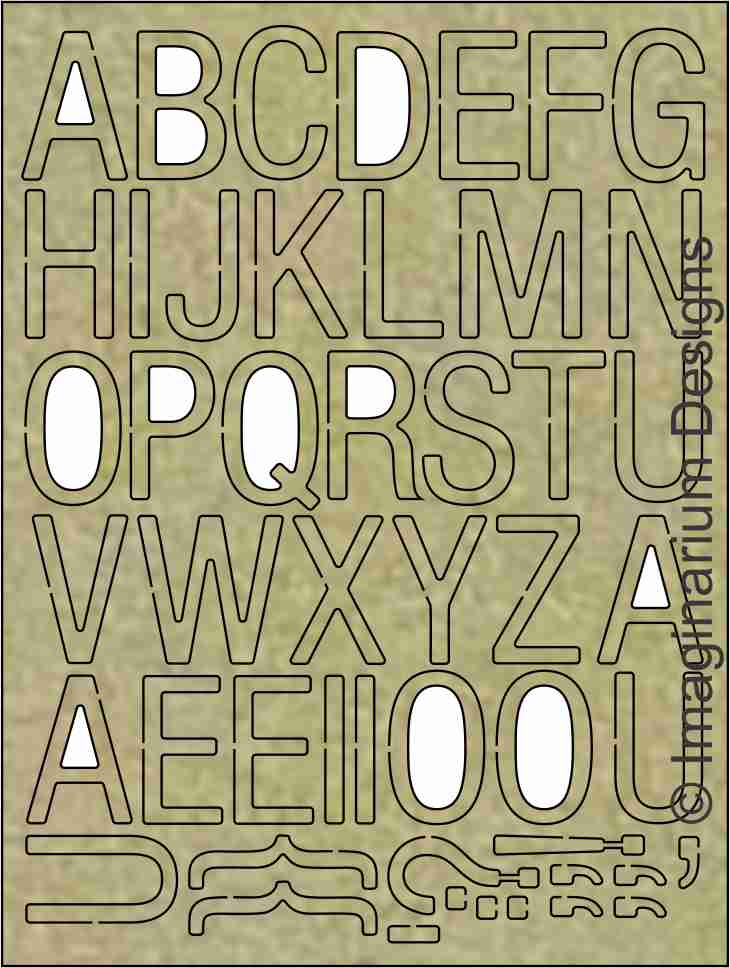
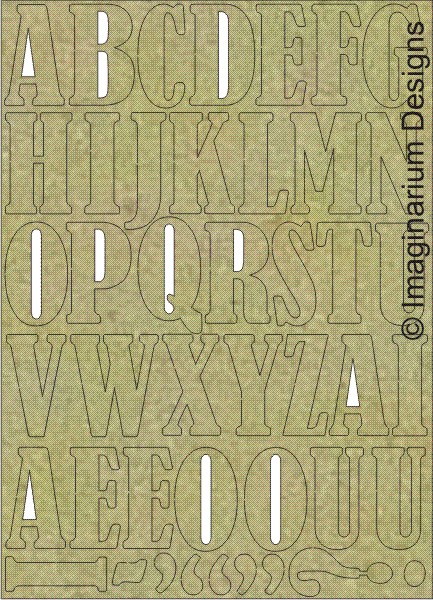


I have used a StencilGirl Alphabet stencil to create the layout background pattern.

Well that is it from me for the moment. I do hope you have loved seeing the fabulous creative inspiration form the team for this month?!

Cheers and Happy Creating :) :) :)
Louise xxx


Friday, March 9, 2018

Scrapbooking and Birthday Cards - With Karyn Schultz!

Hi Imaginarium Designs lovelies!!

It's Karyn here and today I'm sharing some scrapbook pages and cards made using lots of gorgeous Imaginarium Designs chipboard.
I started this scrapbook page by using white cardstock and added strips of Bella Blvd Illustrated Faith Bright and Brave papers to the top and bottom of the page. Then I matted my photos with more papers and added them to the page. 
Next I added clusters of chipboard, flowers and flair. All of the chipboard has been painted with watercolour pan paints in a teal colour. 
I also added some handwritten journalling and a roller date stamp. Lastly I added splatters of teal and black Heidi Swapp Color Shine across my page.

Isn't this flourish chipboard goegeous! Its new and I can see myself needing more of them :) 
Imaginarium Designs chipboard I've used includes 

flourish - new design see instore soon!


Next I created a set of birthday cards.
I started by creating this teal coloured card (in line with the Imaginarium Designs Colour of the month theme) and I loved it so much I thought I would make a set in peacock colours :)

I kept my card relatively simple and used a peacock stencil and ink to create the background layer. I used the same coloured to ink the edges of the chipboard then I also added a sparkly layer of glitter glue around the edges.
I also inked the edges of the cardstock and added more glitter glue. I often assemble my card then add the glitter glue last so it can dry naturally. 
 How pretty is this stencil!
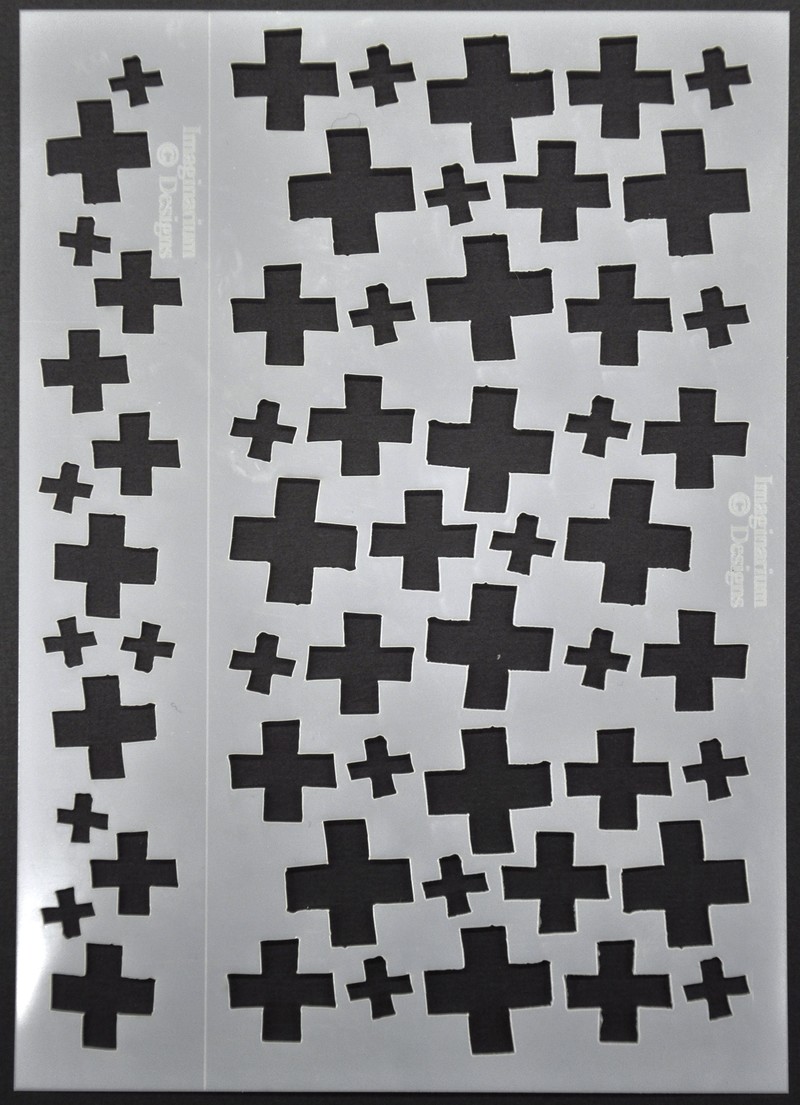
I then tried something similar with the crosses stencil and some crosses. 
Imaginarium Designs chipboard I've used includes 

Happy Birthday: Code IDP0228
crosses stencil : Code IDMM006 
Thanks so much for stopping by

Crafty Hugs xx
Karyn

Monday, February 5, 2018

Favourite Holiday Photos - with Tracey Fowler

Hi Everyone,

It is fantastic to be back here at Imaginarium Designs sharing with you my projects and also to be creating again. I don't get much of a chance to spend time in my craft room over the summer school holiday break so it was nice to spend some time in their creating this week while the boys started back at school.

"Down By The Sea"


It only seemed fit to create a Summer themed layout since we have just finished the school/summer holidays. My younger son has a love of the beach, especially the waves!

To create this layout I chose a paper range that had blues, greens and hint of purple. I have used the Imaginarium Designs stencil Crosses Stencil IDMM006 and white crackle texture paste. Once this dried I used a teal blue spray to add colour into the cracks of the crackle paste. I have also used flicks of gold, gun metal spray along with adding random texture stamp using a black ink.


For the Imaginarium Designs title Down by the Sea, I have used a metallic black embossing powder. I liked how this embossing powder has some shimmer and sparkle which reminds me of the ocean.


I have heat embossed the Chevron Boarder IDB016, using an aged white with flecks of gold. I have then used a patina effect paints to give the chipboard a metal/rusty look. I have cut the Chevron Boarder IDB016 into pieces and placed it on my layout.


I have created a cluster using pieces of metal and flowers. I have used the patina effect paints to bring all the elements together to create a unified look.


"Every Picture has a Story to Tell"


This layout I have used a photo of one of our most treasured family holidays. Yes it was summer time here in Australia, but while everyone was sunning themselves, we were rugged up in  Finland. 
I placed layers of tags, corrugated cardboard, tissue paper, vellum and die cuts under the photo.


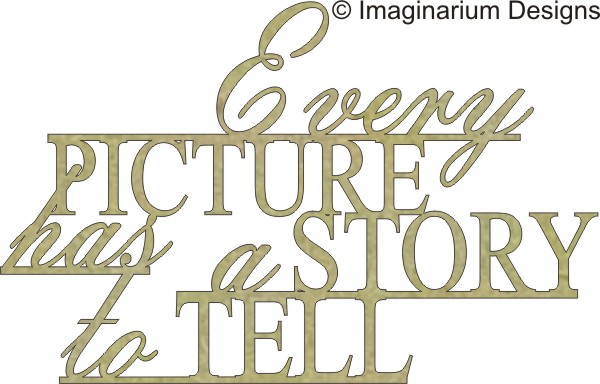
For the ID Chipboard Title  Every Picture has a Story to Tell, have coloured it using a black stamp pad. I didn't want a raised or shiny finish on the title, I wanted it simply black.


 I have used a white embossing powder on this gorgeous  ID chipboard Flourish.


To complete the flower cluster I used Loolabelle's Cherry Blossom (3 in a board) IDD0068 and coloured them using a rose colour ink pad. 


Here is a picture of all the ID Chipboard that I used for my projects


Thanks for stopping by and looking at my projects. I am really excited about this upcoming year and sharing with you my creations.