Showing posts with label Mini Books. Show all posts

Wednesday, March 1, 2017

A Mini Album, just for Friends :) :) :)

Hello Hello :)

Today I would like to share with you a mini album that I created for a recent class at my local
Scrapbooking Store, Seriously Scrapbooking.

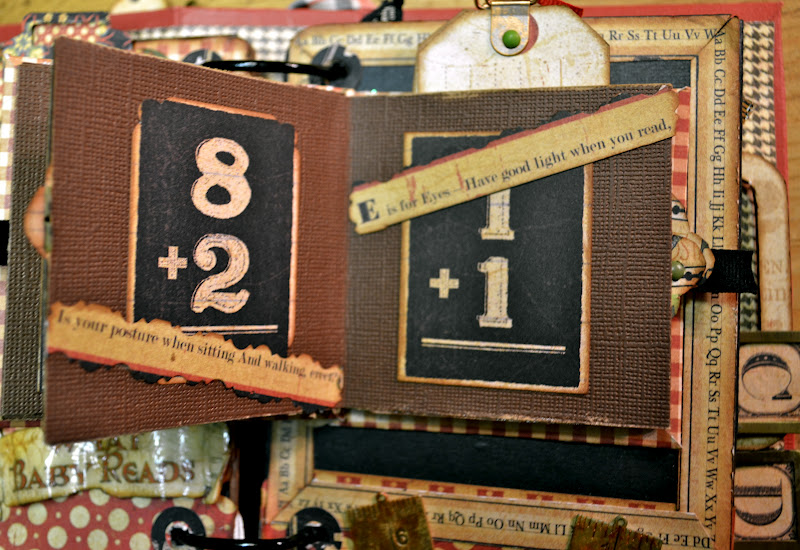
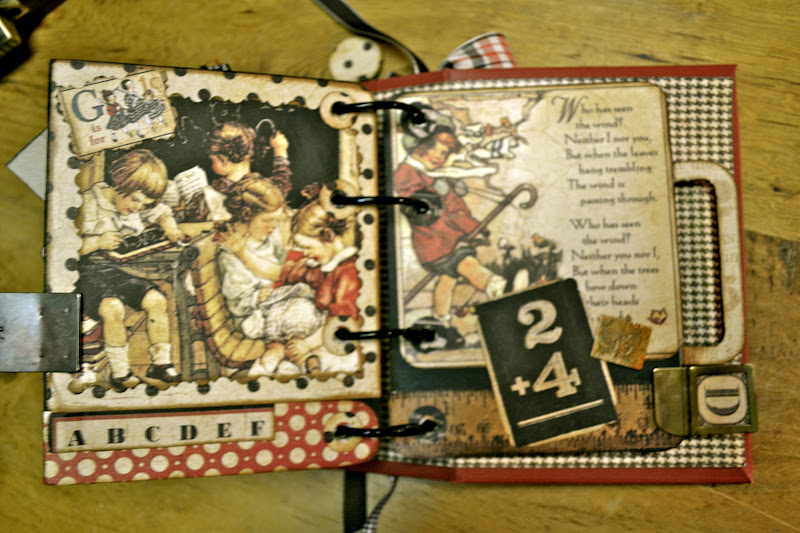
I have used load of fabulous Imaginarium Designs Chipboard; all of which has been finished using Ranger Distress paints.

I got to use some of new release designs; flourish on front cover, and the tulip flourish on back cover.
The theme for this album was to create a special album just for photos of best friends; which could easily be interpreted as BFF's, your partner, sibling etc. I encouraged the ladies in the class that if they wanted to make it just about one person to cut the 's' of Friends title on front cover! :)

To avoid making this post heavy with images I have posted web links to the Imaginarium Designs Range, that I have used on each page :) :) :)


Well that is it from me for the moment. Did you enjoy the February posts by the Team? They were amazing!

Cheers and Happy Scrapping!

Louise :) xxx


Monday, May 20, 2013

Whimsical Tag and Travel Mini Album

Hi Everyone,
For Imaginarium Designs this month I have created two projects - the first a whimsical tag which could be used for many occasions, including a wedding.  Plenty of space on the back of the tag for special quotes or writing of any kind.

The chipboard elements were coloured using several aqua hues and gold, pounced lightly over the chipboard and then sealed using a spray sealer.  This colour theme was used on each chipboard piece.
 The image is one I purchased many years ago on a vintage image CD, it is so adorable.
The Monarch Butterfly was cut into two after colouring, and placed on the image where I removed the original wings from. 
Guipure laces, beaded trim, and fancy braid lay beneath the title - and the below photograph shows the close up detail of the painted wings...
The Embellishment 4 was used in a double layer, to the top of the tag, just to add a little different dimension, as seen in the below image.
Imaginarium Designs Chipboard Used In My Whimsical Tag:
Wishing You Happy Days IDS0070

Monarch Butterfly IDS0059

Embellishment 4 (IDS0013)
Materials:
Kaisercraft - 365 Days - Organise
Prima Marketing - Tag Pad
Misc: Fussy Cut Image, Guipure Lace, Beaded Trim, Fancy Braid
Lindy's Stamp Gang - Starburst Spray - Sea Grass Green
Vintage Photo - Tim Holtz - Distress Ink
Adirondack Acrylic Paint Dabber - Juniper, Pool, and Gold
450 Adhesive

...and my 2nd project is a 'Travel' Mini Album.  I created this mini album using the Mini Book 6 Sheets.  It won't be too long and it should be full of memories as John, Jesse and myself are soon taking a nice long, extended holiday.

The album measures approx 5.5" square, and consists of 6 pages. I have given each page (on both sides) a pocket which holds a further larger tag for photographs and journaling.
Being an avid collector of bits and pieces, I had a nice stash of charms to add to the handle!  Tiny brads where attached to the leather look straps which also comes in the album kit.
I kept the title and chipboard elements within the mini plain and simply coloured using distress stain.  Various corner chipboard elements, were used throughout as photo-holders (or for more tags), and are only half adhered to the page so elements and photographs can be slipped beneath.
I did not include every page, as they all tend to look the same, but here I added a few to show as examples.  Perhaps when I'm ready to place in the photographs, I'll add a few more chipboard elements :-)

Imaginarium Designs chipboard used in my Travel Mini
Mini Book 6 Sheets IDBK0002
Compass With Travel Words in Board IDW0019
James Corner IDC0010
Edward Relief Small 4 per board IDT0032
Tulip Flourish IDFL0008
Embellishment 4 (IDS0013)
Materials
Prima Marketing - Botanical Paper Collection
Vintage Photo - Tim Holtz - Distress Ink, and Distress Stain
Cream - Seam Binding, and Tulle 
Misc: Charms, and Brass Lamp
Gold Brads, Album Rings
Kaisercraft - Check In - Clear Stamps
Paper Chic - Stamps
Scotch ATG and Tape
450 Adhesive

Don't forget to leave a comment on the Imaginarium Designs Blog, to be in the chance to win a fabulous chipboard pack.... and to see more of my work, please call on over to my blog.
Till Next Month

Wednesday, May 15, 2013

Feeling krafty....

Hello Imaginarium friends!

You are with Sandrine today with a couple of projects. First up I have a boys layout loaded with chipboard negatives! I am sure I am not the only one to save every single bit of chipboard when I am creating.
And I have a big fondness for banners!!! So I decided to create a fun banner out of chipboard negatives! Well the chipboards do come with the negatives right? so I guess they have to be used too!
All the chipboards on this layout are RAW with a slight lick of Walnut Stain Distress ink on their edges.

"It's A Boy Thing"


A little close up of the chipboard banner:

I mounted all negatives onto some patterned paper and then added bling and brads:

 ID CHIPBOARD USED:

- EMBELLISHMENT 8 IDS0014


- TINIES 9 COGS ON BOARD IDT0004


- IDP0065 IT'S A BOY THING


- IDT0032 EDWARD RELIEF SMALL


- IDN0002 SHEET OF NUMBERS (SMALL)


- IDT0016 STEAM PUNK CLOCK


OTHER PRODUCTS USED:
- BAZZILL CARDSTOCK, PION DESIGN PAPERS, TCW TEMPLATE, KAISER PAINT, DISTRESS INK, PRIMA BRADS, MANORHOUSE CREATIONS FLOWERS, MARTHA STEWART BORDER PUNCH

---

My second project is a mini album in a shrine made exclusively of chipboard and there again I have used a border in a creative way :) Who says borders have to be borders right? This mini album is a little keepsake of a photo shoot my little boy agreed to do for me at Easter! It could be a great gift idea too but I am keeping that one for myself!

"Live Life Through The Lens"
 To assemble "case/shrine" you will need one "James Border" and Honeycombe negative hexagon bits x4.
I just noticed while looking through my chipboard that the extremeties of the border would become a sun if glued together! After a little thinking and designing I came up with a little holder and the idea for the mini album sitting in it came from that....
These are the measurements to create the shrine:
Back: (sun): 87mm
Sides: 90mm (both)
Front: 87mm
Bottom: 88mm x 91mm

 I covered the holder with white spray paint, as the design is so intricate and I wanted a clean finish, a little hard to obtain with a paint brush. I added a little banner to it for extra detail!

For the mini album, I cut 5 squares measuring 75mm x 75mm each in a 12x12 sheet of chipboard. It is smaller than the shrine but I had to allow for things sticking out!
I used kraft tape to assemble the pages 2 by 2 and covered the spine with masking tape. To hide the tapes each page was then covered with paper, it's as easy as that!

 A little closie of the front of the album...to give the worn look to my letters I first applied white gel pen all over letters and then when dry I rubbed them with a baby wipe to get some of the colour away.


A little look inside the mini album:


 ID CHIPBOARD USED:
- IDB0009 JAMES BORDER


- IDS0054 HONEYCOMBE 6X6


- IDS0065 CHIPBOARD SQUARE 12X12


- IDA0005 MAIN LETTER SET (SMALL)


-IDAUC0001 CAPITAL LETTER SET


- IDN0002 SHEET OF NUMBERS (SMALL)


OTHER PRODUCTS USED:
PION DESIGN PAPERS; STAMPS: RACHELLE MINNETT DESIGN, EVALICIOUS, HERO ARTS; KITCHEN TWINE; CARL CIRCLE PUNCHES, KRAFT TAPE, MASKING TAPE, WHITE SPRAY PAINT

Thank you for visiting Imaginarium blog today, I hope you found some inspiration in my projects, leave me a comment for a chance to win gorgeous one of a kind chipboard pieces!!!!


Sunday, October 7, 2012

Grandsons and School Days

Good Morning From the Redwoods,  Karen here with a couple of projects for October!


The first project I have to share with you today is a layout of my two youngest Grandsons, Ethan & Elias.  I used some rich earthy colors for my projects as I love Fall!!


To alter the chipboard I gessoed them, and then painted with some Tim Holtz Distress Stain (Walnut Stain).  I then applied some Folk Art Burnt Umber paint with a fanned brush.   After that I applied a light coat of Tim Holtz Distress Stain (Copper) and wiped the excess away.   To finish them off  I applied some Liquid Pearls (Ocean Blue) around the edges.


                                                                                                    IDW 0034


                                                                              12 Buttons Onboard
                                                                                            IDS0031

Products Used:

Bo Bunny Et Cetera Paper Collection
Tim Holtz Flourish Die Cut
Tim Holtz Envelope Die Cut
Tim Holtz Distress Flowers Die Cut
Tim Holtz Gears Die Cut
Tim Holtz Distress Inks (Vintage Photo, Walnut Stain, and Soot Black)
Tim Holtz Stick Pins
Folk Art Brown Paint


The 2nd project I have to share with you today is a mini book with a book cover that I made.  This was so much fun, I'm just loving mini albums right now.  I made this one for my Grandson Ethan to give to his teacher this Thanksgiving!!  I hope you enjoy!!

These are photos of the book cover that I made for the Mini Book along with the ribbon and charms along the spine of the book.


And here's the first page of the Mini Book.  I loved using the small  ID Alphas for this.  The red matched the papers just perfectly!


And here's the next 2 pages, with a flip up card for journaling.


The next page has a pocket for several tags.  The banner was distressed and then I applied a crackle paint.

And the next page is a "Mini Album" within the Mini Book


And here's an example of the pages which all have pockets.


Photos of the tags in the Mini Album pockets


 And this is the next 2 pages.  I made some small pockets and filled them with cute tags for journaling and tags with space on the back for photos.


Here's a photo of some of those tags along with a ruler that I distressed and crackled.


On the next page I made an envelope pocket to hold a tiny tag.


Here's the little tag inside the envelope pocket.  (Sorry for the bad photo).


And this is the inside of the tiny tag for a photo.


And here's the last 2 pages along with the back page.


                                                                                     6 Page Mini Book
                                                                                               IDBK0002

               
                                                                       Main Letter Set Lower Case (Small)
                                                                                                       IDA0005

Thanks for letting me share with you and I hope you enjoy!!

I have photos of each page posted on my blog and I'll have a tutorial for the mini book above on the ning site under tutorials.  You can make this mini book out of one sheet of card stock, so fun!

Products Used:
Graphic 45 "A ABC Primer Paper Collection
Tim Holtz Distress Inks (Vintage Photo, Fired Brick, and Soot Black)
Tim Holtz Circle Charms
Crackle Medium
Adirondack  Alcohol Inks (Stream, Copper, and Caramel)
Tim Holtz Tiny Tags and Tabs Die Cut
Graphic 45 Ribbon

Products Used For Small Alphas
Tim Holtz Fire Brick Distress Stain
Tim Holtz Distress Ink (Vintage Photo)
Crackle medium


For more of my work and details of the projects you can go to my blog:
Lost Coast Scrapper

Don't forget to leave a comment to have a chance to win some beautiful Imaginarium Designs chipboard!!