
"Today, You Are Amazing"

Mat the patterned paper on white cardstock. Inked background with white ink over a stencil. Cut and layered flowers and leaves, cut from patterned papers. Chipboards are all gessoed.


Loved the word "Today" on the patterned paper. So I wrote some words that start with each letter of "Today" on cardstock, inked the edges and pop them up with foam tape.

Used the flourish chipboards to "frame" the title chipboard.


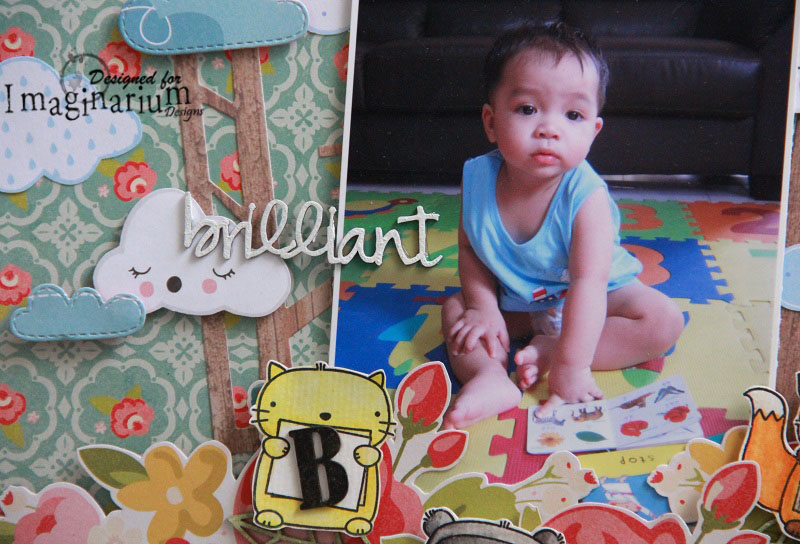
"Brilliant Boy"

The second layout is also about layering the cut outs. Stamped and colored the 3 adorable animals. Gesso the chipboard title. Painted the "BOY" with black acrylic paint. Gesso and ink with distress ink the leaves chipboards.


"Miniature Post Office"

Found a wooden box at Daiso with "Carte Postale" wordings at the sides. So I alter it to a miniature post office. Used a wooden Prima packaging (for their wood embellishments) to alter into cabinet to store the mail and parcels.


Made a table cabinet with Imaginarium rectangle chipboards and ink with distress inks. Also inked the border chipboards as fence.

Front view. The red mailbox is an eraser that I found at a stationery shop. So adorable. Couldn't resist to buy and put into this post office.

Inked the alphas and numbers chipboards with distress ink. Rub Viva Decor Silver Inka-Gold over both sides of the Wrought Iron chipboards and make into window grilles. The blue mailbox is printed and made with paper.

For all the mails, postcards, parcels, stamps and kraft folders, they are printed, stamped, or drawn out.

I stamped the POST wording on canvas cloth and hand sewn into mail bags. Filled the bags with poly filling. For one bag, I glued printed mails at top of fillings.

Made the mini inkpad with chipboard leftover, colored with black marker and glossy accent. The 2 "postal stamps" are made with tiny metal beads and toothpicks.


For the partitions at the big cabinet, I glued "O" and "P" chipboard alphas.

Made 2 wall shelves to display postcards. The postcard sign is stamped on kraft paper, cut out and pop out with foam tape.


Please leave a comment to win a pack of chipboards. Thanks for dropping by.

These projects are all amazing! That mini post office is so pretty!
ReplyDeleteLOVE the layouts but your Mini Post Office has my heart! I have become obsessed with making mini scenes over the last few months and will definitely be using a few of your ideas in a future one! Awesome job and thanks for sharing!
ReplyDelete