
A visit from Santa
By Sue Smyth
and 2 tags
Now I know you have seen these before lol
But I don't think you will mind seeing them again plus
all of the step by steps.

I love working on small items for Christmas, you can
really pack in lots of details and there is
so much out there to include.
Today I have used one of the small billboards
from Imanginarium to make a Santa Decoration

I have painted all of the kit with gesso, several coats
and covered windows etc with
Dimensional magic and sprinkled liberally
with fine white glitter
(my favourite way to alter chipboard)
Remember not to cover tabs!

For the top I have created a little enamel cabochon to put
the letters for SANTA, see how to below.
Then I have made a little scroll to stamp
on.

For the base I have made Faux snow.
I shared the recipe last year about this time.
I have set little trees and a snowman brad into
the snow .
Add a few snowflakes from an old christmas garland
Here it is again for those who want it.
2 teaspoons of Diamond Dust or silver coarse glitter
1 teaspoon of white gesso
4 or 5 drops of dimensional magic
stir until thoroughly mixed
and store in air tight container.

This makes a neat and very beautiful decoration
you could also put a photo of the children
on Santa''s knee to personalize it
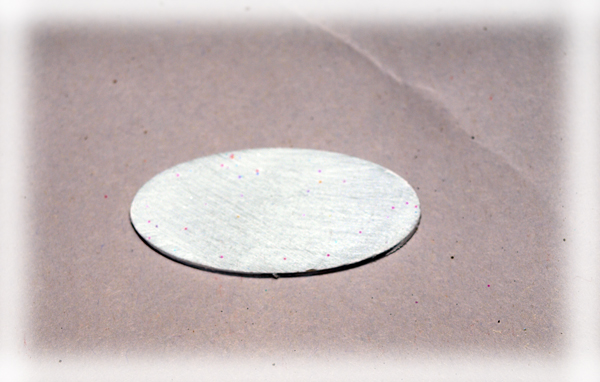
Paint the oval chipboard with 2 coats of white gesso

Spray with Postbox red dylusions and dry off.

Dab with versamark and sprinkle with
clear Utee.

Heat set for a glossy shine.

Spritz with white dylusions while hot and
continue to heat for 3 seconds

Top Tip
I did not have the right size holly leaves, but
I did have some small regular leaves.
So I attacked the edges with a large
hole punch to give the neat
notches of holly...
Imaginarium chipboard

Santa's Tag

I have made this detailed little tag
to place on a miniature easel.
First cover the chipboard
tag with Christmas patterned paper

Then add details in layers to make your tag.
Because this is small you can use little pearls,
and tiny snowflakes

Add a double embossed Happy Christmas and
you have the most festive of all tags.
Imaginarium Chipboard


Reindeer Mixed Media Tag

Next is a Mixed media tag, this is different to
the one above as I have not used any paper to decorate it.

You could use this on a present for the recipient to keep
or use as a mini canvas on an easel to decorate your
house

The gorgeous reindeer is covered
with dimensional magic and then
drenched with brown glitter for
a wonderful shine, add some small 3mm
pearls for the spots and
a little red one for the nose.

Take a large tag, in this case a pre used one, and
cover with gesso.
Add stars with a stencil and texture paste for the
sky, arrange chip trees and corners, using
the wet texture paste to adhere.

For the base place the palette knife flat on the
texture paste and sharply pull up to
give a wonderful lumpy snow look.

Spray with inks to create a sky and snow field
as pictured. Dry off and rub over
with turquoise glitter paste and then
white gesso for a snowy look.
Decorate with Christmas greetings
and reindeer as above
Imaginarium Chipboard


Happy Crafting and
A Merry Christmas to all

Sue your Santa decoration is fabulous. Gosh what a lot of lovely details you incorporated. Thank you for the detailed step-by-step tutorial. And for the snow recipe...
ReplyDeleteYou are so talented and creative.
Hugs from Monica.... Spain
Your Santa decoration and tags are lovely!! I love all the little details on the decoration and anyone would love to receive these beautiful tags!! TFS!
ReplyDeleteThe first creation is
ReplyDeleteawesome! Lovely work
on all of these.
Merry Christmas.
Carla from Utah
THRILLED to see these again Sue!!!
ReplyDeleteTHANK YOU SO MUCH for sharing your tutorials - your Santa decoration is especially DELIGHTFUL!!!