Hello my dear crafty friends!
This is Irit Shalom here again as Imaginarium September Guest Designer and this time I made an altered shabby style printers tray to showcase those gorgeous Imaginarium chipboards.
This is my son's small family (since those photos were taken they got another little girl into their family) and I decided to make it in this pastel shabby style.
This 7 Gypsies tray was dark brown and I just painted it to this dirty white color with a simple paint spray.
Most of the chipboard were added on the outer side of the frame. They are too beautiful to hide them inside.
So two larger ones framed the main photos: Window with lattice and shutters and Frame 1.
Both were covered with gesso, then heat embossed with white embossing powder and then misted with a light pink mist.
I didn't try to make the coverage perfect as this is this style where some bare spots are just welcome.
As I already used Capture Moments Smile in chipboards for my two other projects, I decided to use the negative as a mask with light pink colored gel medium over the patterned paper. And it worked great! What a nice use of all possible leftovers! Just try it on your projects too.
The oval frame was painted in the same way as the two large photo frames and I used it for the partial title of this project with a chipboard word " Family" inked with distress ink and connected with a strip of glossy accents. This is my favorite way to connect letters : looks so much different and glues the letters perfectly.
The leaves with holes smaller piece was just heat embossed with white powder and glued over the top of the oval frame.
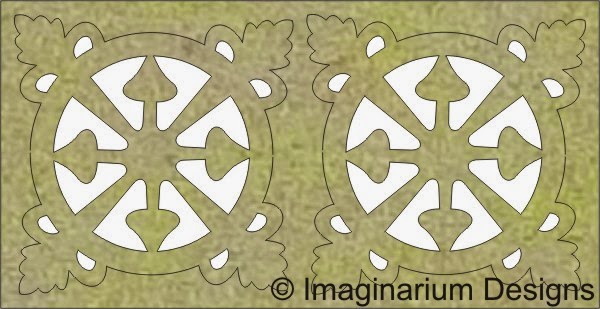
And now for another " use everything " item: two negatives from Edward relief ornament were used as small photo frames. I added " Just for you" inked chipboard inside the first frame and framed a photo with an extra flourish under the frame in the second one.
The second part of my title , word " Forever" was made with upper and low single letters and as you can see for this word you really need to use both sets or to get doubles. Anyway I managed to make the word and as you can see glued it in the same " add the glossy accents line over" style.
Here are the Imaginatium products used for this project:
Other products used for this project:
Tray: 7 Gypsies
Paper: Meg's Garden
Bling: Flourish with a Bling
Inks, glaze: Ranger
Embossing powders: Wow! Embossing Powders
Flowers, charm: Prima
Mists: Lindy's Stamp Gang
Hope you like my altered tray and see you again with my last post as Imaginarium Guest Designer in a couple of weeks.


Absolutely stunning! Love all the details, beautiful!
ReplyDeleteWhat a fantastic heirloom, wonderfully done xx
ReplyDeleteCONGRATULATIONS on your growing family Irit!!!
ReplyDeleteLOVE how you have decorated the printer's tray and LOVE how you have kept some of the photos & elements on top of the dividers, instead of recessed inside each panel!!! The decorative edges of the chippies, the pearl flourish & flowers make a lovely contrast against the grids too - LOVE IT ALL!!!
looks fantastic. Don't you just love this chipboard? The frame is on my "must have" list now. Thanks for sharing your masterpiece! Love it!
ReplyDeleteWhat a beautiful altered tray!!! This chipboard is on my gotta get it list! So pretty and I love that all pieces can be used! TFS!
ReplyDelete