
Christmas Cheer Journal and
keepsake box

I love a good journal, and use them all the time, so earlier in
the year I created this one for Christmas in July. I have
also taught it around Australia, but now
will share with you a quick tutorial on how I created it.

I just love to team turquoise and teal together, for me, just add in
some white snow and it shouts of Christmas

And of course some glitter and shine, here I have
used the red beaded trim you can buy at Christmas
simply snip it up it to individual balls. I buy
them in all colours and use them
year round.

One of the last things I do to my flower cluster is add some faux snow
a mix of gesso and white glitter. I like to add it with a soft
small brush.
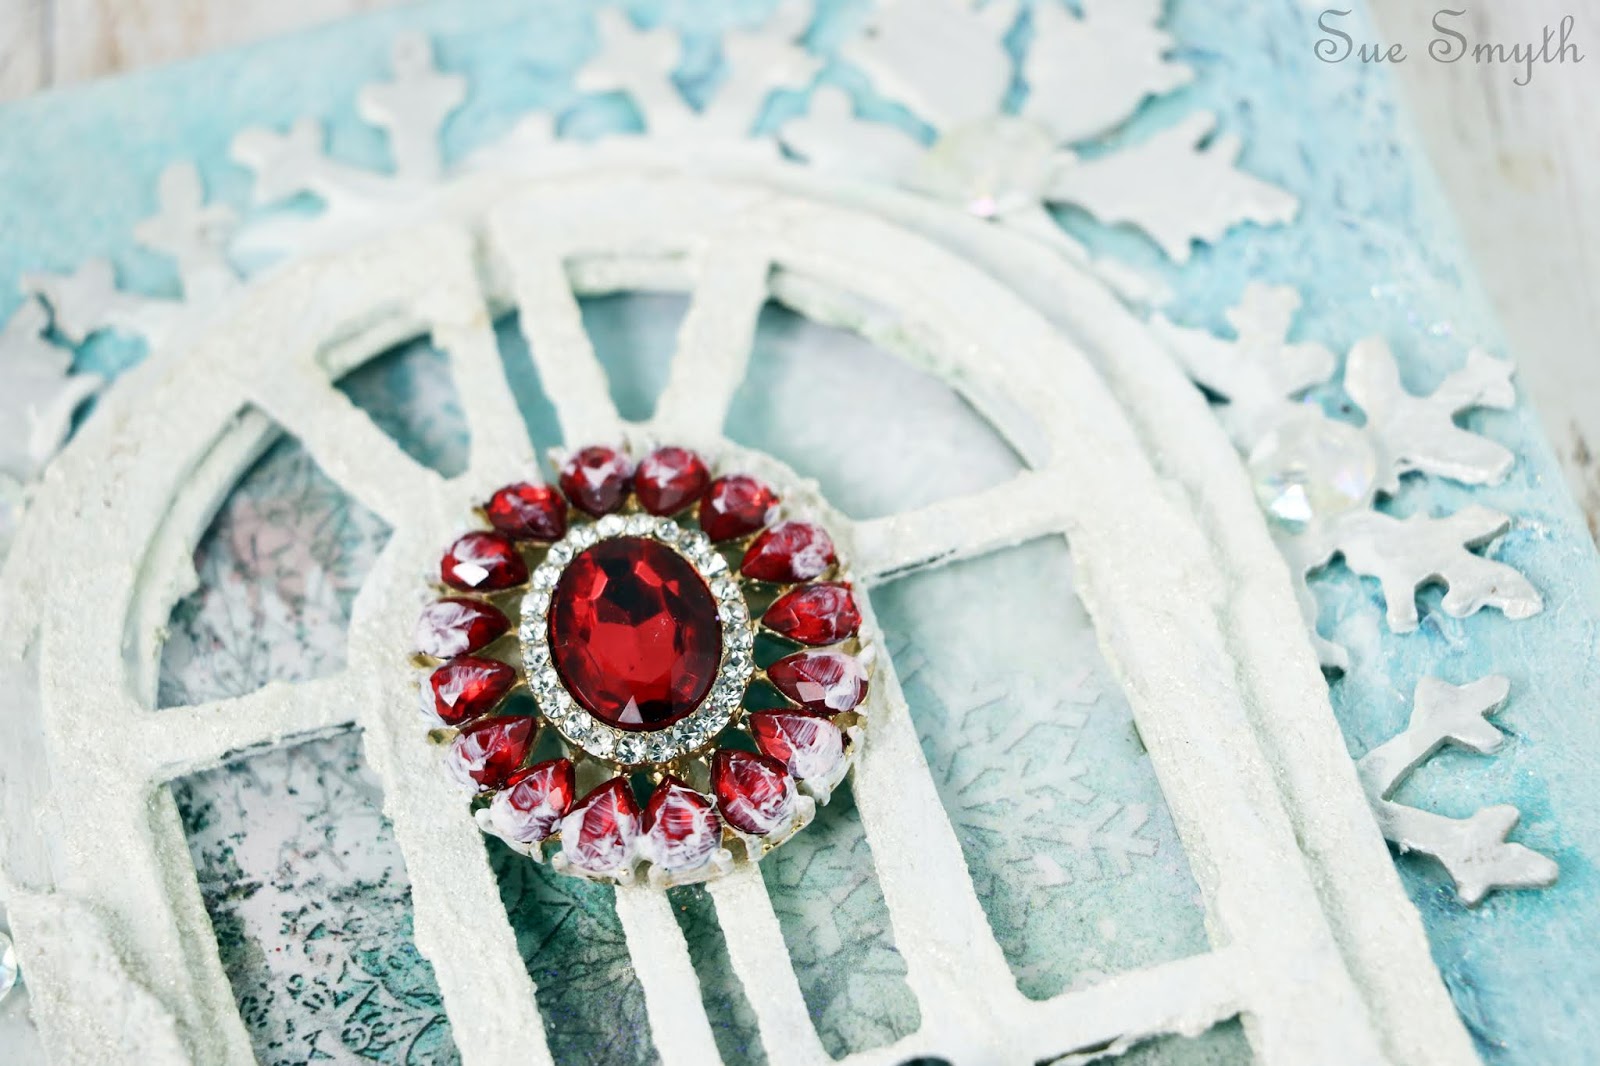
My magnificent jewel is actually an earring that I bought
really cheaply at $4.00 a pair, it makes a fabulous element to my book.
Always look outside the square for materials.

So first I have added texture, this time with just
gesso and a stencil as I did not want the texture
to be too deep and I wanted a softer look than texture paste.

When dry, I spritzed with a little turquoise glimmer mist
and dried it again, then with a fan brush and water
I painted the surface with turquoise inka gold.
Remember they are actually water soluble and a valuable
paint medium, as well as a rub.

Then I have added some platinum inka gold, just rubbing
in with fingertips. Then to add sparkle
I have painted with a glitter medium.

Paint the window arch with white gesso.

Mix up a batch of faux snow, 1 teaspoon of white gesso
and 1 teaspoon of white glitter, then smear all over the window
with a large wooden stick.

Start the layering process, by adhering patterned
paper into the window (this is Highland Christmas my new paper range
here)

Add the snowflakes and window frames.

Snip up some die cut branches, I have covered them in dimensional magic and sprinkled with micro beads, when dry paint with gesso for a neat textured look to include in the cluster at the
base of the window.

Add poinsettia and metal flower

Fill out the cluster with some red pip branches cut up
and some green chipboard holly leaves and muslin.

When you are happy with the cluster add
some faux snow to the flowers and branches, and
add the red earring to the centre of the window.
Keepsake box

Over the years I have collected a few vintage
Christmas decorations and they are very precious to me, and
it occurred to me that to pass them on to my children
they needed to be kept safe in a sturdy box.

So I have used chipboard to decorate an old tin box
using lots of gel medium to adhere in place.

I wanted to keep it pretty simple in comparison to my
books and canvases as this has a practical use and I don't
need things catching or making it hard to store.

Once all the chipboard is in place, have painted the box with black
gesso and then with graphite inka gold.

Then I have added lots of rhinestones and decoration, which
I have covered with Art Alchemy White gold wax for a pewter
look.

To give it an aged look I have stained it with rust
alcohol ink, blot off the excess for a vintage rusty look.

Just the ticket to store my vintage ornaments in.
The sweet blown glass mushrooms I purchased at
an old antique shop in South Australia
when I visited our lovely Jane Tragenza,
she recommended the store and was right, it had
everything !!!

Happy Crafting
and Merry Christmas to all
See you next year !!
No comments:
Post a Comment